How to Wash Your Beauty Blender Properly to Extend Its Lifespan
Here’s how to wash a beauty blender effectively. Discover the best methods to keep them clean, bouncy, and dab-worthy with this detailed, step-by-step guide.
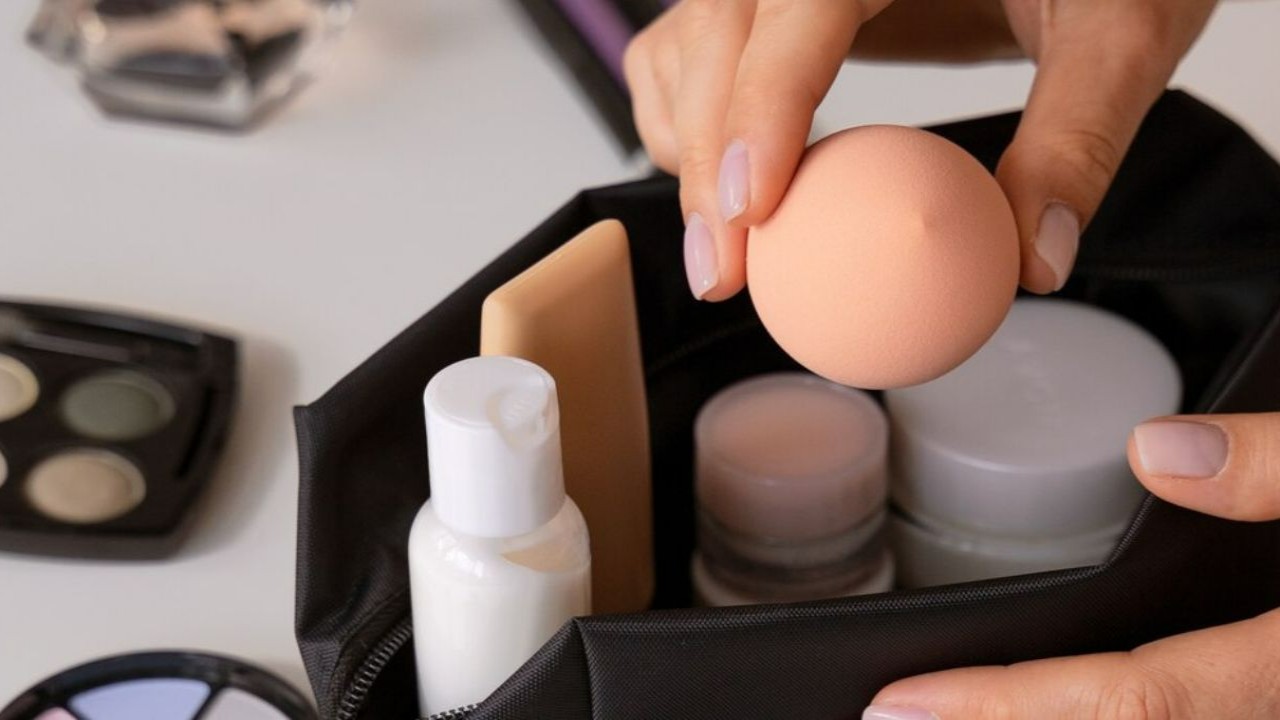
If you’re like us and have a collection of beauty blenders in every shape, size, and color, you know how essential these little tools are for flawless makeup application. But let’s be real — keeping those frequently dirty sponges clean can be a challenge. We’ve all been there, watching in dismay as our beloved sponges start to break down, lose their bounce, or, worst of all, get tossed in the trash because we just couldn’t figure out how to wash a beauty blender or keep them in tip-top shape.
Similar to makeup brushes, when cleaning makeup sponges, the aim is to maintain their longevity. It is easy to get carried away and aggressively scrub the blender, plunge it into piping hot water, or wring it with all the muscle strength you’ve got. However, those methods will not only get rid of the debris in your sponges but also their effectiveness.
So, to help you clean the sponges the right way, we’ve put together this detailed guide for you. We’re here to help you extend the life of your beauty blenders, ensuring they stay as soft, clean, and effective as the day you first used them. Whether you’re dealing with stubborn makeup stains, looking for the best cleaning methods, or wondering how often you should be washing your makeup blender, we’ve got you covered.
Swipe down to the guide to discover the step-by-step instructions and methods that will keep your beauty blenders in perfect condition, helping you save money and achieve that flawless finish every time!
How to Wash a Beauty Blender
Keeping your favorite makeup sponges clean is essential for maintaining your skin’s health and ensuring your makeup application is flawless. Dirty beauty blenders can harbor bacteria, oils, and leftover makeup, which can lead to breakouts and uneven application. In this guide, we’ll explore several methods for cleaning your beauty blender, detailing what you need and how to do it effectively. We’ll also discuss how often you should clean your beauty blender and when it’s time to replace it.
- How to Clean Your Beauty Blender With Soap:

What You Need:
- Gentle liquid soap or solid cleanser
- Warm water
Method:
Cleaning your beauty blender with soap is one of the most straightforward and effective methods. For dirty sponges that are saturated with makeup residue, oils, and bacteria, there’s no better step than giving them a little bubble bath.
1. Wet the Beauty Blender: Start by thoroughly wetting your beauty blender with warm water. Squeeze it a few times to ensure it's fully soaked.
2. Apply Soap: Dispense a small amount of gentle liquid dish soap or use a solid cleanser directly onto the beauty blender. Focus on areas that have the most makeup buildup.
3. Massage And Lather: Gently massage the soap into the beauty blender using your fingers. Squeeze and roll the sponge to create a lather, ensuring the soap penetrates deeply.
4. Rinse Thoroughly: Rinse the beauty blender under warm running water, squeezing it repeatedly to remove the soap and makeup residue. Continue rinsing until the water runs clear.
5. Dry: Wring out the excess water with a clean towel and leave the beauty blender to air-dry in a well-ventilated area. Ensure there are no damp spots left on the sponge, as those can harbor germs if neglected.
This method is ideal for regular cleaning and is gentle enough to maintain the integrity of the sponge.
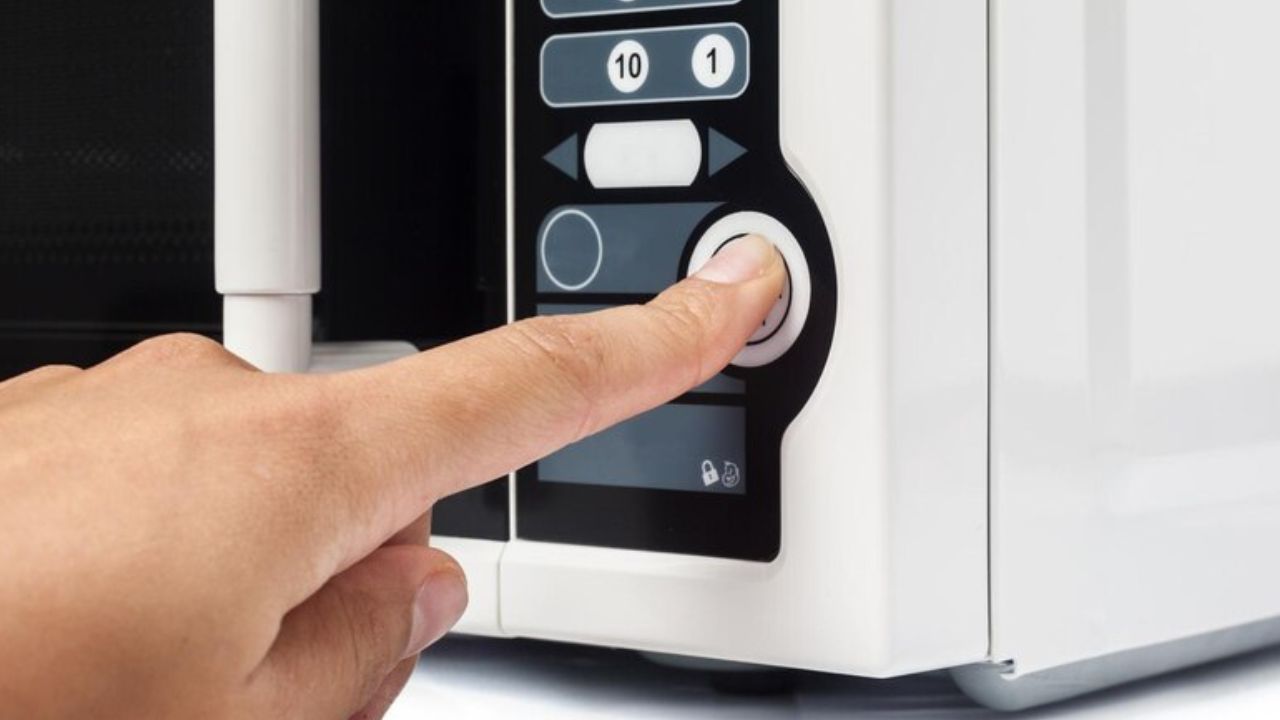
- How to Clean Your Beauty Blender with a Microwave:
What You Need:
- Microwave-safe bowl
- Gentle liquid cleanser
- Warm water
Method:
Just like many other tasks, microwaves make cleaning makeup sponges easy too! This is a great way to disinfect the makeup sponges and get rid of germs and bacteria.
1. Prepare the Solution: Fill a microwave-safe bowl with warm, clean water and add a small amount of gentle liquid soap. Mix it until the soap is fully dissolved.
2. Submerge the Beauty Blender: Place the beauty blender into the sudsy water, ensuring it is fully submerged.
3. Microwave: Microwave the bowl on high for about one minute. The heat will help disinfect the beauty blender and break down the makeup residue.
4. Cool And Rinse: Carefully remove the bowl from the microwave and let it cool for a few minutes. Once the water has cooled down, remove the beauty blender and rinse it under running water until the water runs clear.
5. Dry: Squeeze out the excess water with a clean towel and leave it to air dry.
This method is great for deep cleaning and sanitization, but it should not be done too frequently as the microwave's heat can wear out the sponge over time.
- How to Clean Your Beauty Blender With Oil:

What You Need:
- Oil (e.g., coconut oil, olive oil, or baby oil)
- Liquid antibacterial soap
- Warm water
Method:
Similar to how some of us like to double-cleanse our face, using a cleansing oil to double-cleanse our beauty blenders is a great idea, too. While the oil acts as a magnet for all the dirt, debris, and bacteria, the soap repels the oil out of the blender, ensuring that the gunk is wrung out with it. This is an excellent way to ensure that the sponge is perfectly clean without compromising its firmness and bounce.
1. Apply Oil: Start by applying a small amount of oil to the areas of the beauty blender with the most makeup buildup. Massage the oil into the sponge, focusing on breaking down the makeup.
2. Add Soap: Once the makeup is loosened, apply a few drops of your antibacterial liquid cleanser of choice to the beauty blender. Massage it again to create a lather.
3. Rinse Thoroughly: Rinse the beauty blender under cool running water, squeezing it repeatedly to remove the oil, soap, and makeup residue. Continue rinsing until the water runs clear.
4. Dry: Squeeze out the excess water with a clean towel and allow the beauty blender to air dry.
The oil method is ideal for deep cleaning, especially if you regularly use heavy or waterproof makeup.
- How to Clean a Beauty Blender With a Pad:

What You Need:
- Cleansing pad or silicone scrubber
- Gentle liquid soap
- Warm water
Method:
Using a silicone scrubber or pad with a gentle cleansing soap can help scrub out stubborn gunk from the surface of a beauty blender by adding texture to the cleaning process.
1. Wet the Beauty Blender: Start by wetting your beauty blender with warm water.
2. Apply Soap: Apply a few drops of gentle liquid soap to the cleansing pad or directly onto the beauty blender.
3. Scrub on the Pad: Gently rub the beauty blender against the cleansing pad in a circular motion. The texture of the pad will help lift and remove makeup from the sponge.
4. Rinse Thoroughly: Rinse the beauty blender under warm running water, squeezing it repeatedly to remove the soap and makeup residue. Continue rinsing until the water runs clear.
5. Dry: Squeeze out the excess water with a clean towel and let it air dry.
This method is perfect for those who want a thorough clean without being too harsh on the beauty blender.
- How to Clean Your Beauty Blender With the Surface Method:

What You Need:
- Flat, clean surface (e.g., bathroom sink or countertop)
- Gentle liquid soap
- Warm water
Method:
The surface method allows for a controlled and gentle cleaning process, ideal for those concerned about damaging their beauty blender.
1. Wet the Beauty Blender: Wet your beauty blender with warm water.
2. Apply Soap: Dispense a small amount of gentle liquid soap onto a flat, clean surface.
3. Rub on the Surface: Rub the beauty blender back and forth on the soapy surface, applying gentle pressure. This will help remove makeup without over-saturating the sponge.
4. Rinse Thoroughly: Rinse the beauty blender under warm running water, squeezing it repeatedly to remove the soap and makeup residue. Continue rinsing until the water runs clear.
5. Dry: Squeeze out the excess water with a clean towel and let it air dry.
The surface method is gentle and ensures the beauty blender remains in good condition for longer.
How Often to Clean a Beauty Blender?
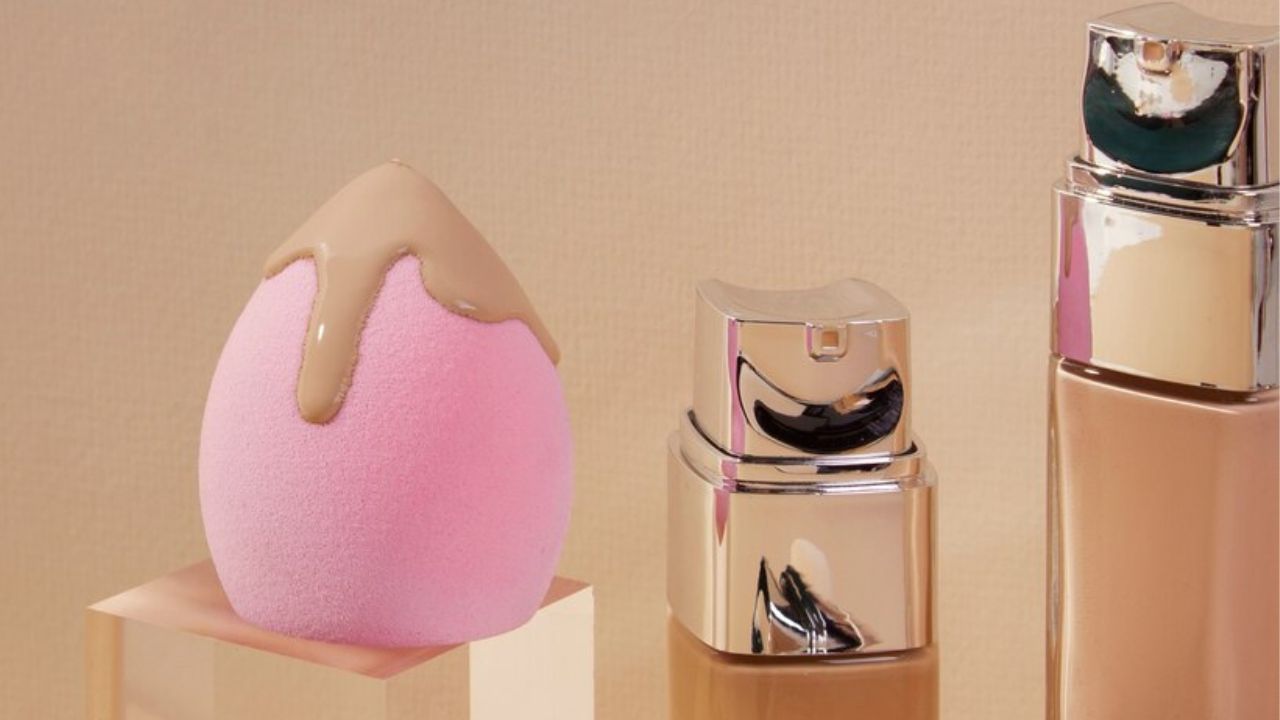
For optimal results, it’s recommended to clean your beauty blender after every use. Regular cleaning prevents the buildup of bacteria and makeup residue, which can cause skin irritations and affect makeup application.
However, if daily cleaning isn’t feasible, aim to clean it at least once a week. Regular cleaning extends the lifespan of your beauty blender and ensures a smooth, flawless makeup application.
When to Replace Your Beauty Blender?
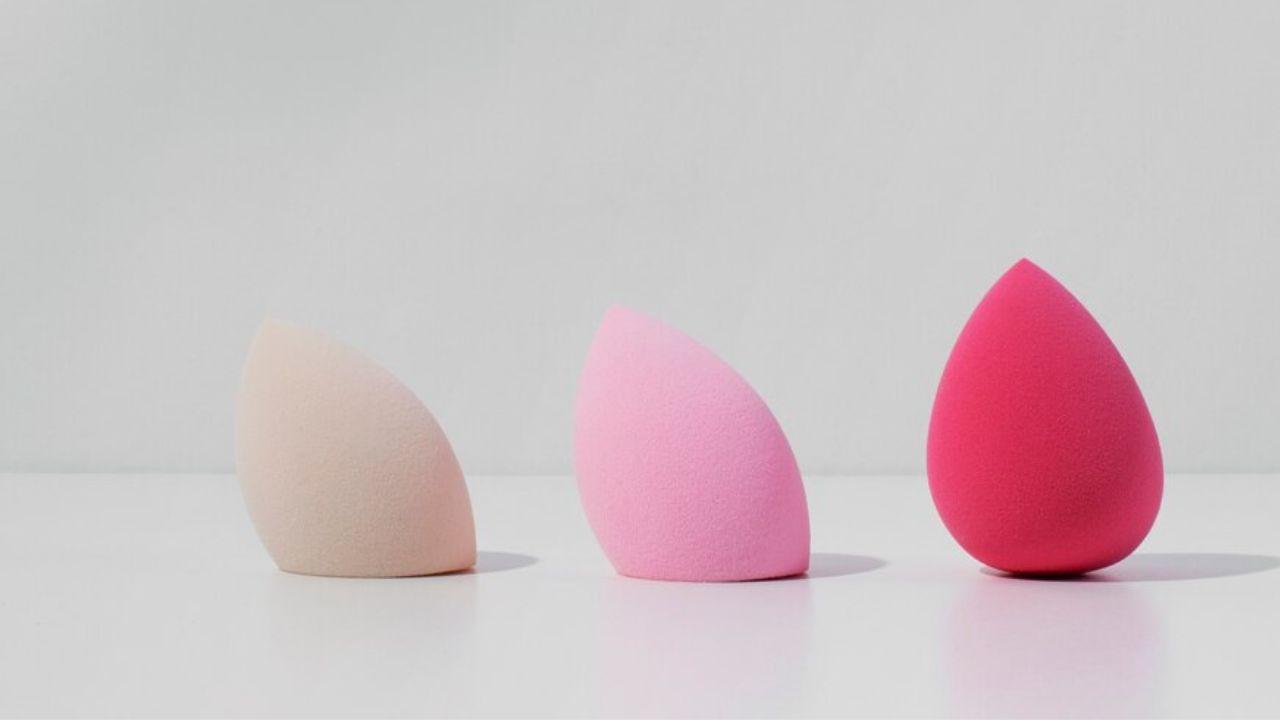
Even with regular cleaning, beauty blenders have a limited lifespan. On average, a beauty blender should be replaced every three to four months. Signs that it’s time for a replacement include:
- Tears Or Damage: If your beauty blender starts to tear or lose its shape, it’s time to replace it.
- Persistent Stains: If stubborn stains remain even after deep cleaning, the beauty blender may not be as effective.
- Texture Changes: If the sponge becomes too soft or loses its bounce, it’s a sign that it’s breaking down and should be replaced.
Using a worn-out beauty blender can lead to less effective makeup application and an increased risk of skin issues, so it’s important to replace it regularly.
With our guide on how to wash beauty blenders the right way, you can easily clean the makeup tools without causing many conundrums or failures. By following these cleaning methods and maintenance tips, you can keep your beauty blender in top condition, ensuring it remains a reliable tool in your makeup routine. Regular cleaning not only extends the life of your beauty blender but also promotes healthier skin and a flawless makeup finish.


 JOIN OUR WHATSAPP CHANNEL


