Head to Knee Pose (Janu Sirsasana): Benefits And Steps
Head to knee pose is highly effective in improving the body’s flexibility and digestion. Learn all the remarkable benefits of this yoga pose here.

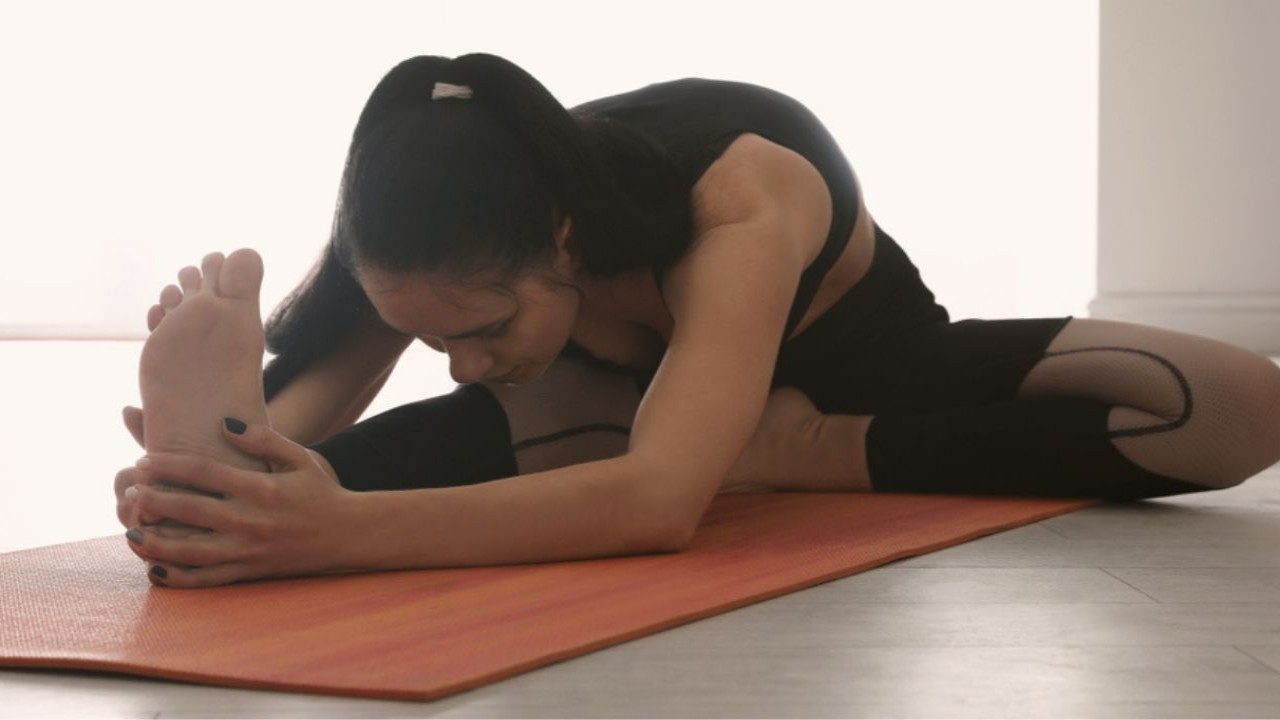
Head-to-knee pose, also known as Janu Sirasana, is an excellent forward-bending stretch pose that offers a host of benefits. The pose is explained really nicely in the Sanskrit language, wherein Janu means the knee, Sirsa is referred to as the head, and Asana means posture. In yoga, forward bending poses are known for their ability to improve body balance, stretch the body, aid in digestion, and calm the nervous system.
According to our contributor Casey Castro, a senior Yoga Teacher and founder of Sydney Yoga Collective, “Forward fold asanas aid in digestion by activating the parasympathetic nervous system. In forward folds, the tension in the abdomen relaxes by allowing it to push out and force the breath into the lungs, this increases the pressure in the abdominal cavity and activates Manipura chakra, which controls the digestive fire.” The janu sirsasana pose offers the same benefits, even more. When practicing this pose, your spinal and back muscles get stretched, leading to a relaxed and toned body.
Our contributor Joanne Highland, a certified yoga and barre fitness teacher, says, “Forward-bending poses in yoga aid digestion by stimulating the abdominal organs. This stimulation encourages movement within the gastrointestinal tract, promoting digestion and helping to relieve symptoms of indigestion or constipation.”
In this article, we will dive deep into the world of the head-to-knee pose, exploring its various benefits, variations, and accessible tips for beginners.
A Step-by-Step Guide on How to Do Head-to-Knee Pose

The head-to-knee forward bend pose targets the hamstrings, hips, and groin muscles. It is a simple yet effective yoga pose to keep yourself healthy and fit. Below are step-by-step instructions on how to practice the pose and reap all its benefits:
Steps:
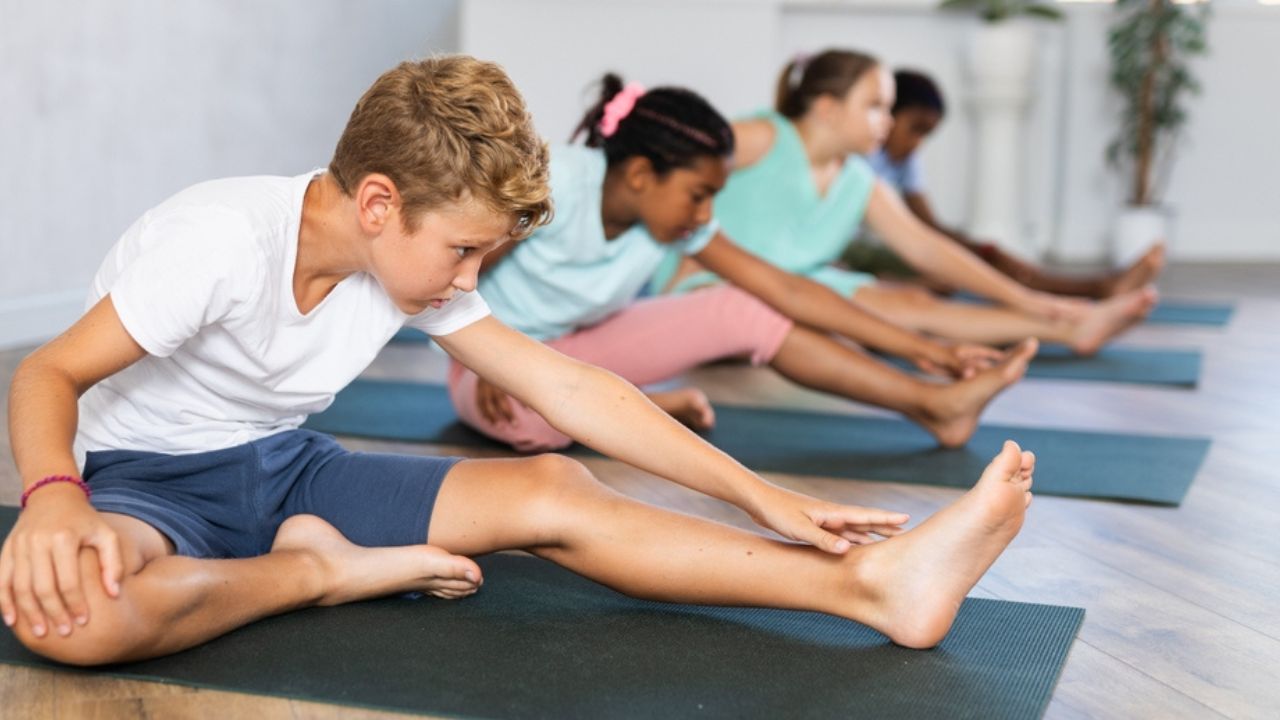
Sit in a relaxed position on a yoga mat with your legs extended in the front.
Now bend your right knee slightly and place the sole of your right foot gently on your left inner thigh. Don’t push the foot deep into the thigh to avoid discomfort and pain. Keep your left leg extended and your toes pointing upward.
Take a deep breath and elongate your spine.
As you exhale, move forward toward your extended leg.
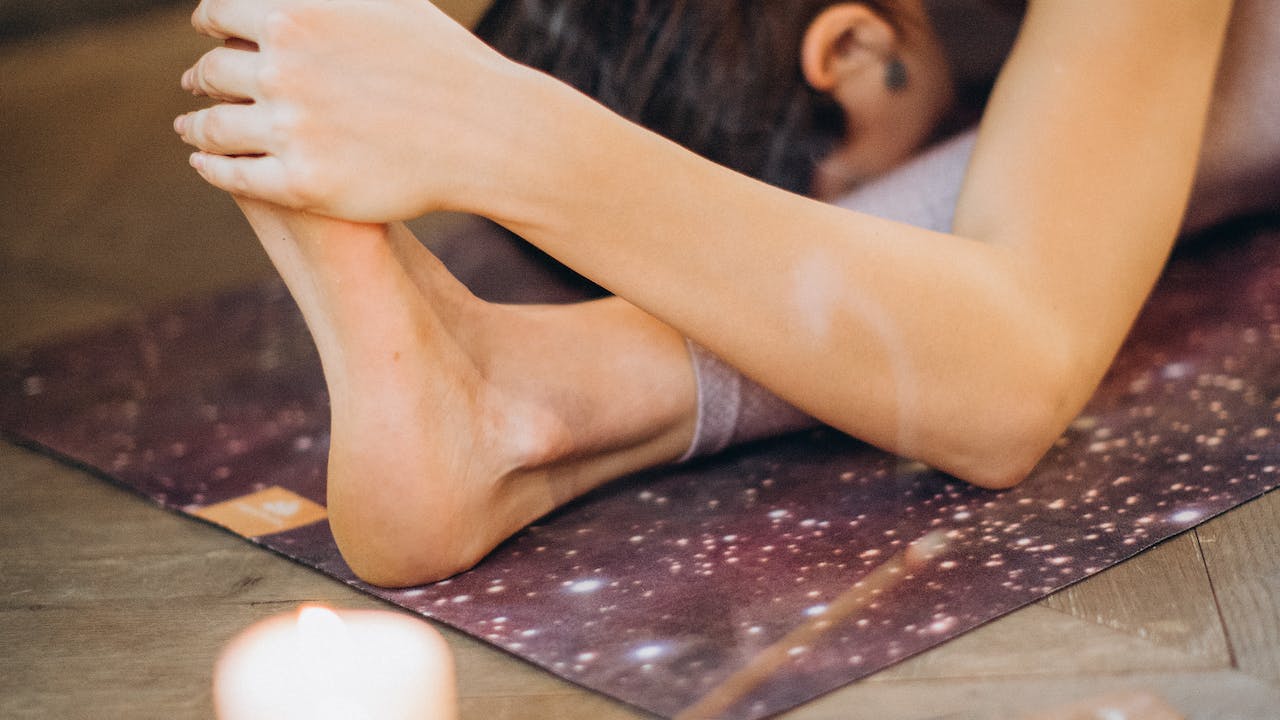
Try to move forward slowly and gradually, and reach for your left foot while engaging your back and core muscles. If possible, try to touch your foot, shin, or ankle. (Make sure not to overstretch your body).
When you are in this seated forward bending pose, make sure to keep your spine straight and not give sudden jerks to your neck.
Extend your spine when inhaling, and deepen the forward bend when exhaling.
Be in the position for a count of 20.
To exit, inhale and slowly lift your choice, then straighten your right leg and shake both legs.
Repeat the pose on the other side.
Beginner Tips to Keep in Mind When Doing Head-to-Knee Yoga Pose
Keep your spine and core muscles active when doing this yoga pose. If you are a novice, it's best if you keep your knee closer to the straight leg, as positioning your knee away from the other leg can cause pain.
Be in the position for as long as you are comfortable — if you experience pain, release the pose.
Keep your left leg active throughout the pose.
Once you release the pose, shake both your legs to relieve the tension in your muscles.
Focus on your breath when practicing the pose.
Sequencing Tip: When to Practice Head to Knee Forward Bend Pose

Beginners can practice this yoga pose toward the end of a yoga session and follow with other forward-bend poses. If you are a professional, you can practice this after a warm-up session. “Warming up in any yoga session should always include the fundamental basics, such as pranayama like yogic breath or nadi shodhana. Then moving to body awareness by waking up the prana with Surya Namaskara, a set of 12 asanas with a variety of flexion and extension in homage to the sun,” says Casey Castro
Talking about warming up, our contributor Anna Passalacqua, a certified yoga therapist, and yoga teacher, says, “When you’re warming up, consider starting with some gentle stretches to stimulate greater flexibility and range of motion. Sun Salutations are a great option for engaging your entire body and encouraging circulation.”
Head-to-knee Forward Bend: Professional Tips to Share with Your Yoga Students
1. If anyone exerts too much pressure on their back or pulls from the pose aggressively, it can create more muscle tension and even cause knee injury. When teaching yoga, ask your students to bend forward as much as they are comfortable and release the pose gently.
2. You can give your students a folded blanket or a block to sit on and elevate their pelvis region to practice the pose more effectively.
3. Students can also be given a rolled-up blanket to keep under a straightened knee to prevent hyperextension.
4. Remind your students to focus on breathing and inhale and exhale deeply as they practice the pose.
What Are the Different Variations of Janu Sirasana Pose?
There are over 27 variations of head-to-knee pose. Once you gain perfection in the beginner’s pose, you can try different variations of this yogic practice to challenge yourself and up your fitness regimen. Some of the different forms of head-to-knee pose include a revolved head-to-knee pose, a revolved head-to-knee pose in a chair, a head-on-knee pose, and so on.
What Are the Benefits of Practicing Head-to-Knee Pose?
The head-to-knee stretch pose offers a myriad of benefits, such as:
1. Helps Improve Body Flexibility
This yoga pose provides a deep stretch to the muscles of the legs and inner thighs, which improves leg flexibility and improves overall posture and leg movement.
2. May Help Boost Energy Levels
Yoga poses are known to stimulate energy flow in the entire body, making you feel more energetic throughout the day. Performing the janu sirsasana pose on a regular basis can make you feel more energized and also calm your senses (1).
3. May Help Maintain Healthy Digestion

In a forward bend pose, our core area becomes activated, and the abdominal region gets compressed, which in turn stimulates the digestive tract, making digestion easier and smoother. According to a study, incorporating yoga poses in our daily lives can help ease health conditions like constipation in older adults (2).
4. May Help You Feel Relaxed
Yoga is a holistic activity that not only strengthens the body but also brings the body to a calm state. Head-to-knee-forward bend yoga pose boosts blood circulation in the head which can have a soothing effect on the nervous system. In fact, time and again, yoga has proven its efficacy in managing stress and improving the overall quality of life (3).
5. Helps Strengthen Spinal Muscles
Forward bending positions in yoga help stretch spinal muscles, which in turn strengthen the back muscles as well. However, if you have back pain, it's advisable to practice yoga under the supervision of a practitioner.
Modifications and Variations
People new to the world of yoga might find it difficult to do this pose without any discomfort at first. However, once you get used to the exercise, you may want to challenge yourself and modify the exercise.
If you have knee sensitivity or tight hips, you can use a blanket to sit on it and do the exercise. Or take a rolled-up blanket and position it under the knee of your extended leg to try a different variation of the head-to-knee pose.
If you are not able to touch your foot, you can also use a strap and place it around the extended foot. Hold one end of the strap in your hands and use it as you bend forward.
Safety Tips to Follow When Practicing Head-to-Knee Yoga Pose
People with knee, back, or spinal injuries should not do this pose. Plus, when doing the pose, your lower and upper body should feel stretched, however, if you feel any pain or discomfort while stretching, release from the pose immediately. When using a strap, don’t exert too much pressure while pulling yourself forward to avoid sudden jerks and injuries.
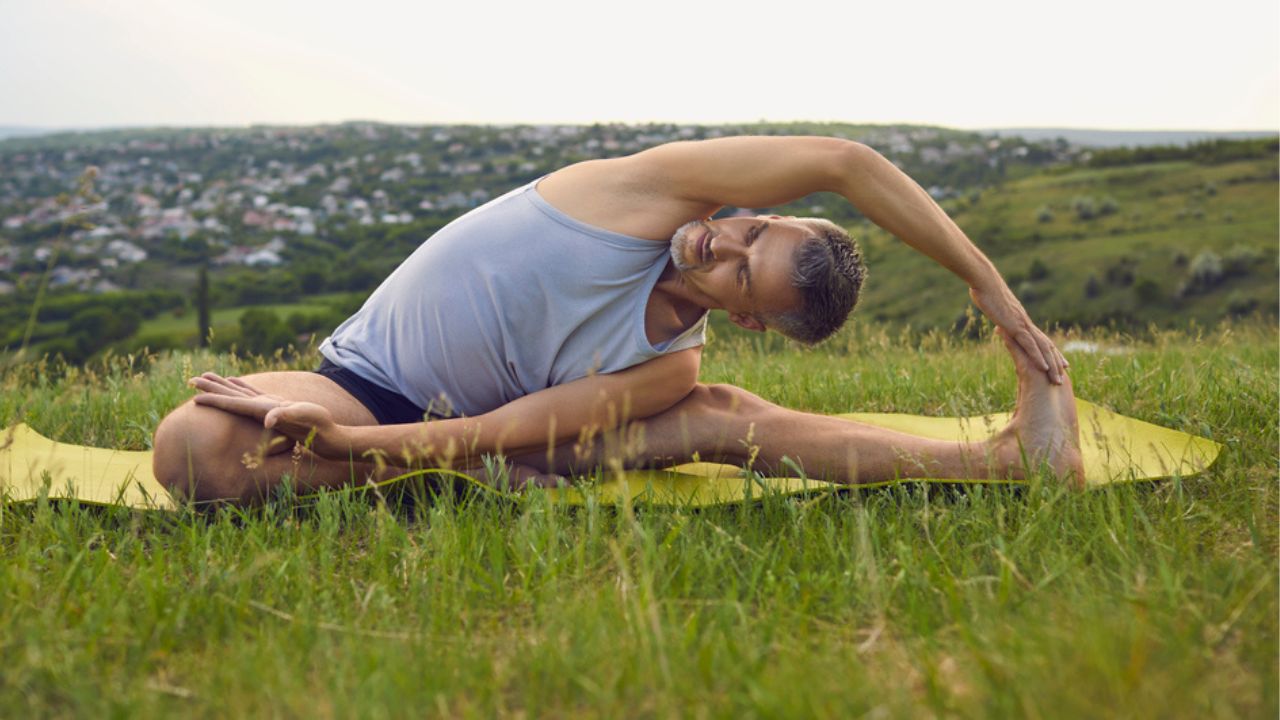
How to Do a Revolved Head-to-Knee Pose?

1. Sit in Upavistha Konsana, also known as wide-angle seated forward bend.
2. Keep your hips active and open your legs, making sure your quadriceps are facing the ceiling.
3. Now slowly bend your right knee and put the ball of your right foot at the inner thigh of your extended left leg.
4. Inhale deeply and elongate your spine. Twist your torso gently to the right while exhaling.
5. Moving your left shoulder toward the inside of the left knee, revolve the torso toward the ceiling.
6. Extending your left hand and palm up, try to clasp your inner foot or move toward it.
7. Then, you need to raise your right arm and bring it over your head. If you feel comfortable, grab your left foot with your right hand. Keep your left leg active and thigh pressed into the floor.
8. Inhale and lengthen your spine, and twist the torso toward the right, and move your chest to the ceiling as you exhale.
9. Stay in the pose for about 10 breaths. To release the pose, you need to reverse the steps.
10. Follow the same process on the other side.
Conclusion
Yoga stretching exercises offer a holistic approach to keep you mentally and physically fit. The head-to-knee pose benefits are many — it not only helps relieve back pain but also boosts digestion and improves flexibility. When practiced religiously, it can make you feel more energetic and say goodbye to various health ailments. But if you are a beginner, it's recommended to do this yoga pose under the supervision of a practitioner. Don’t wait anymore, and add this pose to your fitness regimen to reap all its benefits.
Contributor: Joanne Highland, Certified yoga and barre fitness teacher
Anna Passalacqua, Certified yoga therapist, Co-Founder and Teacher - Breathing Deeply Yoga Therapy


 JOIN OUR WHATSAPP CHANNEL


