Lotus Position: All About the Foundational Yoga Pose
Touted as the ‘destroyer of diseases’ from the old scriptures, the meditative lotus position or padmasana is at the core of yoga. Find out more about this beneficial posture.
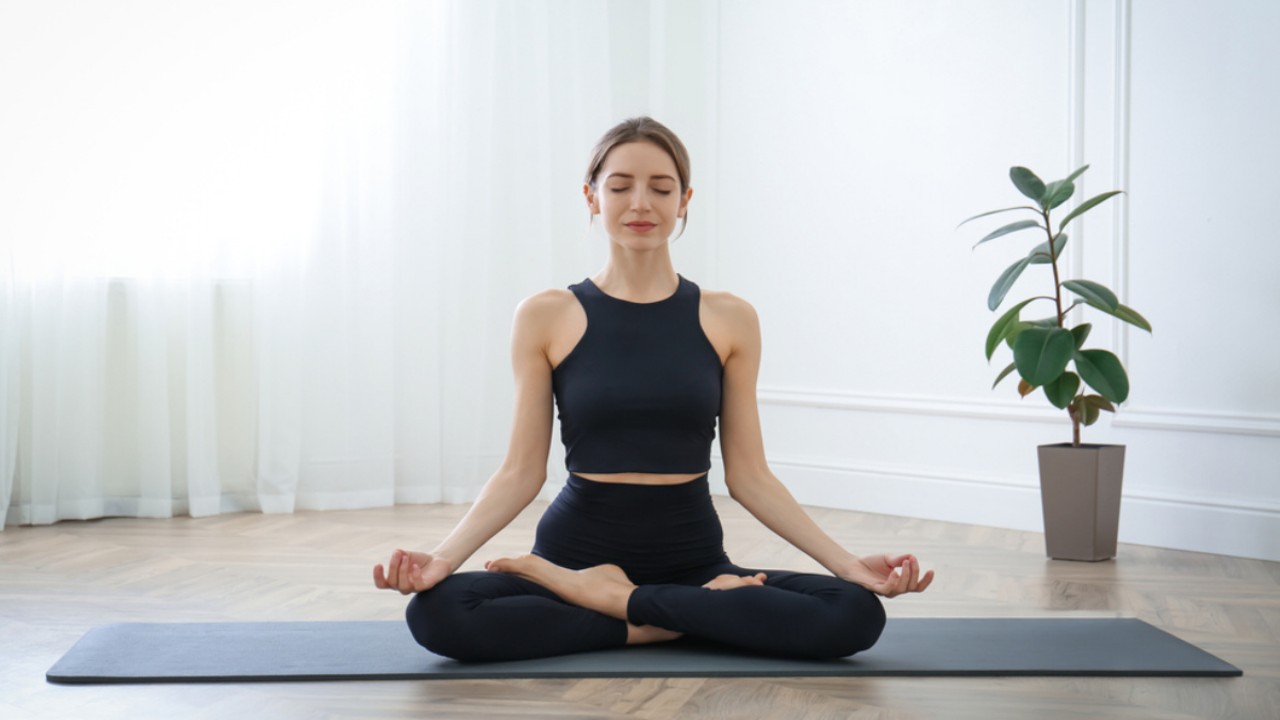
Whether you are someone who begins their day with a yoga session or someone who is freshly exploring the space of wellness, meditation, and yoga, you would know the lotus position or padmasana as one of the core exercises that build the foundation for practicing yoga. Symbolizing the blooming lotus flower out of the muddy water, padmasana or lotus pose is iconic for many benefits. It is a seated, crossed-legged posture that is performed for meditation, experiencing a calm mind, and alleviating numerous physical issues. Based on our expertise, we have crafted a holistic guide that talks all about the variations, benefits, and precautions related to the lotus position in yoga.
Steps for Doing Lotus Yoga Pose
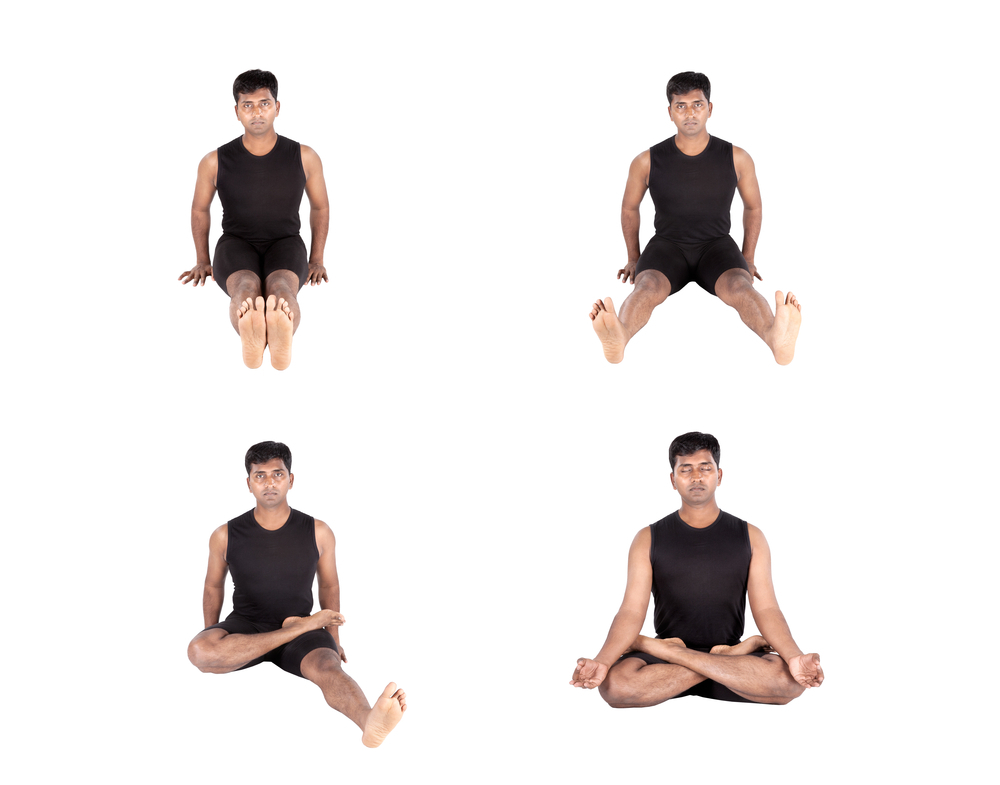
For a full lotus position, hip movement, rotation, and flexibility are essential. The range of motions in the upper thigh muscles or femur, matters equally. It must be noted that not anatomically not everyone can do a lotus pose. If you are trying to do the lotus pose, you can begin by doing some stretches that open up your hips. For a fully grounded pose and a correct alignment, here are the guided steps that you can follow.
- Begin by sitting on the floor or on your mat and stretch both legs in front of you. Always ensure that the spine is erect.
- Next, bend your right knee and place your feet on the left thigh, sole pointing upwards. Bring the foot as tightly tucked into the left hip crease as possible, towards the abdomen. If you tuck your left foot under the right thigh, it will be a half-lotus position. Many people, including experts, sometimes prefer this pose, as it’s easier to do, which increases efficiency, and doesn’t give a lot of leverage on the knees or ankles.
- For a full lotus, repeat the same step and place the left heel on your right thigh. You can use your hands to lift and cradle the bent leg and fix it on the thigh.
- Now that both of your legs are crossed and the feet are positioned correctly, roll back your shoulders, Keep the spine erect, and head straight.
- Hold the position for a short while and place your palms on the knees or in Gyan mudra. Focus on your breathing.
Lotus pose or padmasana is also a preparatory pose that enables other kinds of postures. There are a variety of modified poses that stem from the lotus posture. Here are a few that are practiced widely and are beginner-friendly too.
3 Variations of Lotus Pose
1. Easy Pose (Sukhasana)
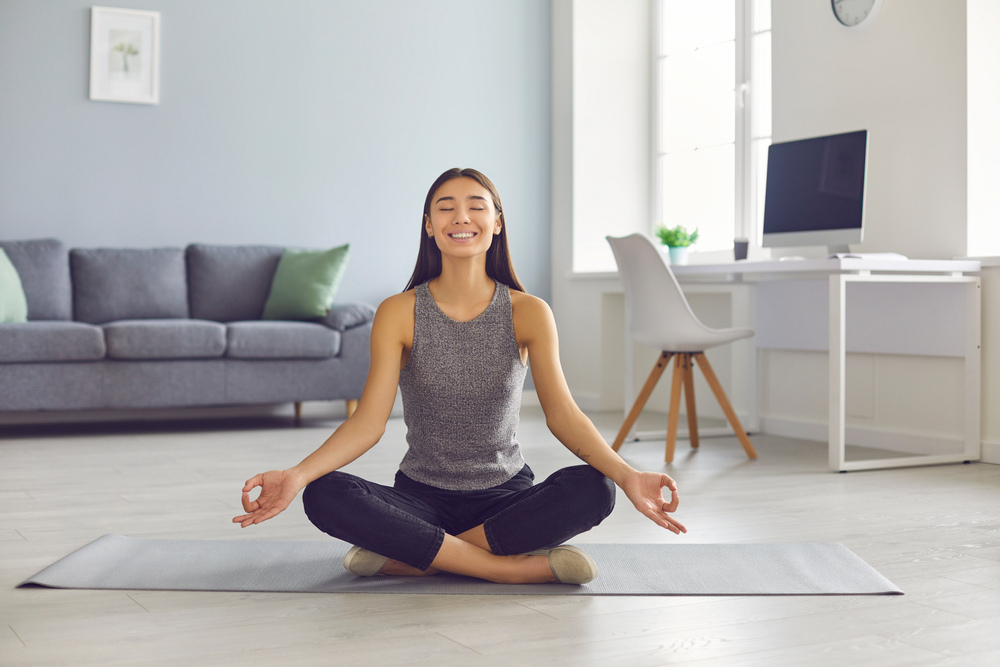
This is a relatively easier rendition of Lotus. It’s a cross-legged, seated posture that engages the core, back muscles, hip mobility, and abdominal muscles. To do this pose, begin by resting your legs in front, as you sit on the mat. Now, bend your knees and draw your legs closer to the abdomen by tucking each foot under the opposite thigh. This should feel comfortable, so relax your feet and keep your pelvis in a neutral position. It is best to lengthen your tailbone, roll your shoulders back, and push your front ribs forward, without overarching.
2. Half Lotus Pose (Ardha Padmasana)
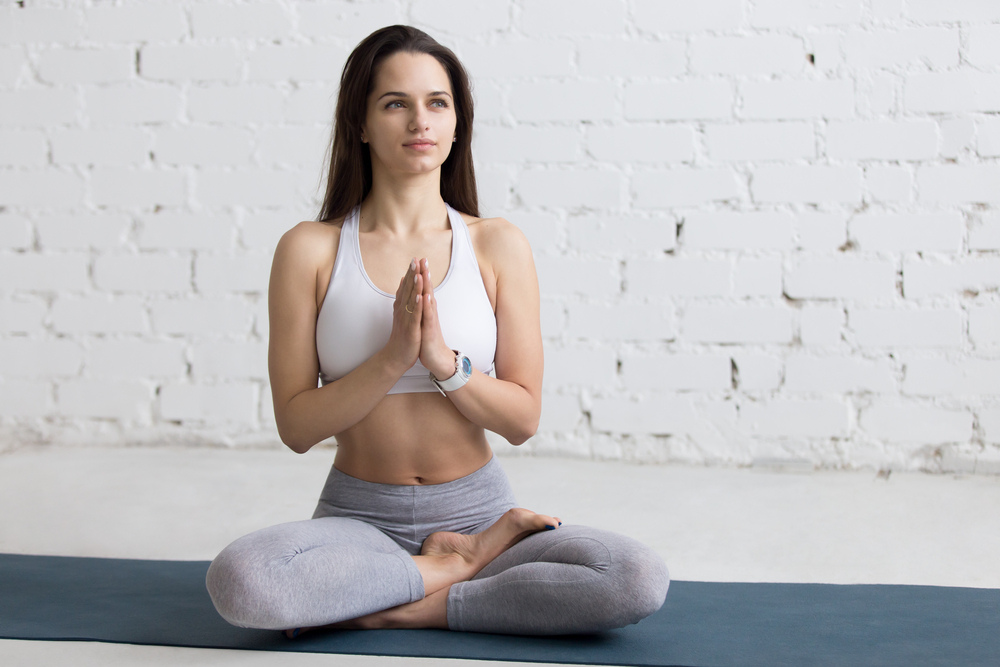
As the name suggests, this pose is quite literally a partial lotus pose. It engages the back by strengthening it, opens the hips, and stretches the knees, ankles, and thighs. The seated posture is considered an easier version of the traditional lotus pose and is suitable for those with less flexibility, especially in the lower body. In this asana, only one foot is lifted and placed on top of the opposite thigh with knee and hip rotation, while another foot stays on the floor, resting under the thigh.
3. Half Bound Lotus Tree Pose (Ardha Baddha Padma Vrikshasana)
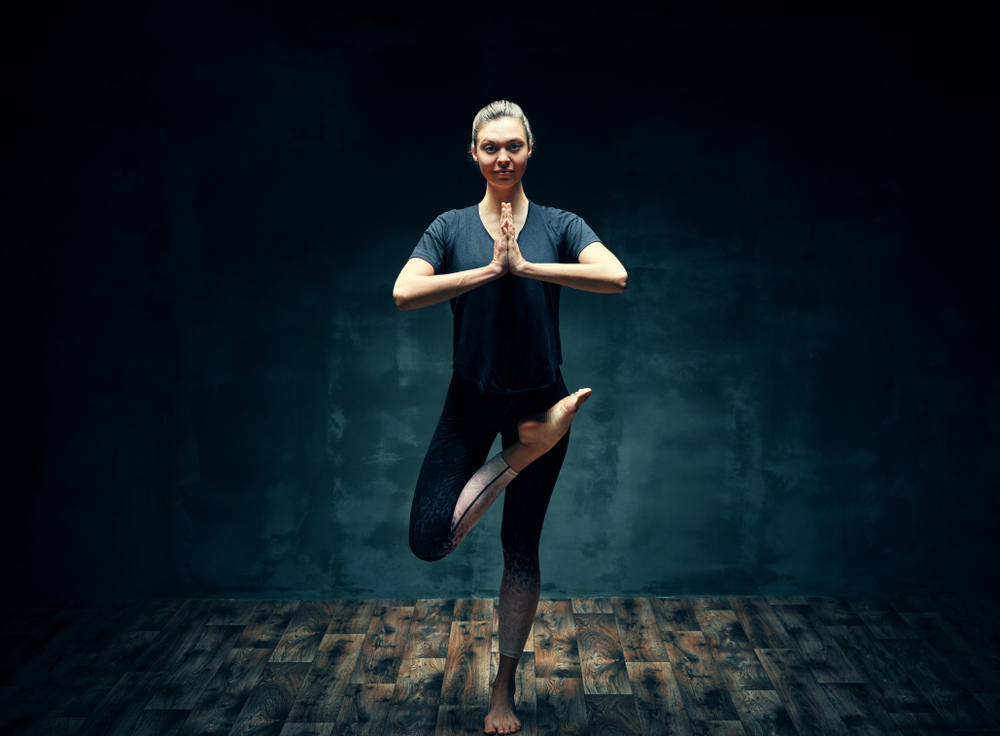
This standing pose is a combination of lotus and tree pose. The hip opening variation engages the core for balancing and tones the abdominal muscles. Here, you need to draw one of your legs in a half-lotus position, while maintaining the body balance on a single leg. This asana is a great beginner-friendly pose for enabling the external rotation of the hips easily. Practicing this pose strengthens the thighs, calves, ankles, glutes, and spine.
Practicing yoga, particularly the lotus position has a bevy of physical benefits that vary with each rendition. These poses also aid in relieving stress, improving concentration, inducing relaxation, and quite a few mental and spiritual health benefits. Here’s a roundup of some of the most prominent and prevalent pros.
Top Benefits of Practising Lotus Pose

1. Reduces Knee Pain
Lotus pose or padmasana is known to relieve the pain and swelling in knee joints and legs which can be caused by arthritis. Another benefit is that practicing this pose aids in slowing down the process of lateral knee bending (1).
2. Increases Energy Levels
With the steady and prolonged practice of lotus posture over time, it is observed that the energy levels of the body increased, especially compared with those who sit on a chair. There are possible physical and posture-enhancing benefits to the lotus pose (2). This pose also fosters mental relaxation by inducing quaintness.
3. Helps in Maintaining Stability
The lotus posture helps in distributing the pressure on the lower spine, thus allowing the body to be steady for a longer time. It helps in securing the base of the body by gripping the trunk and head.
4. Improves Digestion
As the lotus pose increases blood circulation, there is extra blood flow in the lower body and pelvic area. This enhances digestion, relieves constipation, and helps in maintaining body weight (3).
5. Effective for Diabetes
Padmasana is one of the various postures in yoga that are recommended for having beneficial effects on diabetes type 2. The massaging of the pancreas through a set of asanas, including padmasana, helps in insulin secretion, as per a systematic review of trials (4).
6. Beneficial for Three Humors
It is believed that when the three humors in the body are balanced, one can be free of diseases. These three namely are wind, bile, and phlegm. Padmasana or lotus pose helps in keeping them in proportion and avoiding diseases like asthma and gastric issues (3).
Tips on How to Do Lotus Pose Properly
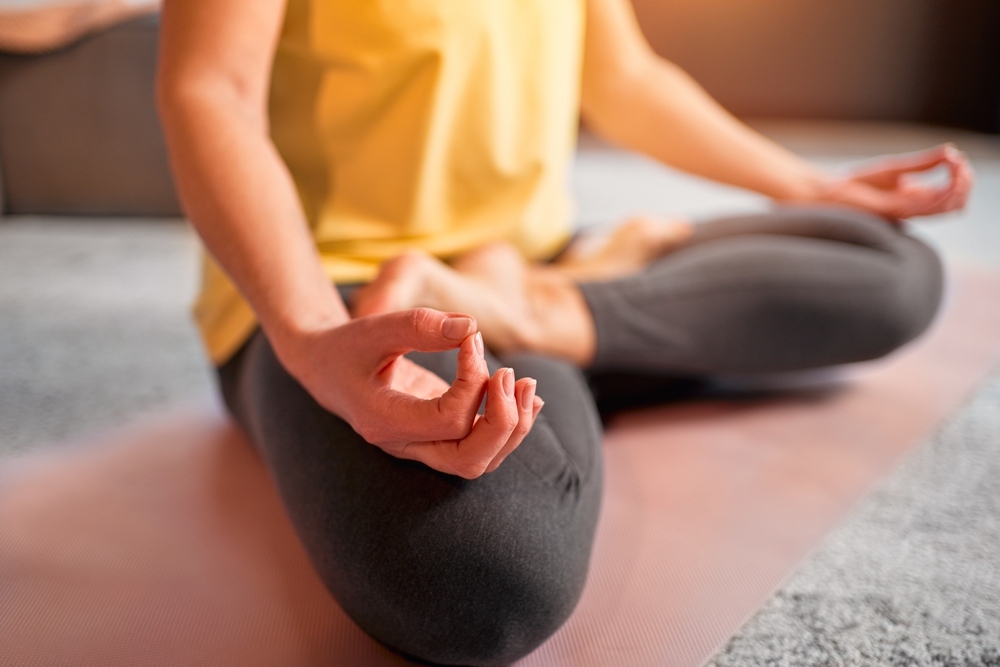
Even after following the steps and listening to your instructor, the lotus pose is not an easy catch. Bear in mind the following points in order to avoid any kind of strain, injury, or stress.
- Pay Attention To Your Body: The foremost thing to keep in mind is that the lotus pose or padmasana is not meant for everyone. If you are a beginner, a little tightness in your knees and hips is inevitable. However, if you experience sharp pain and extreme discomfort, it’s best to try again, after performing some hip opening exercises.
- Check Your Breathing Technique: The way you control your breathing has a major impact on the exercise you are performing. The asanas in yoga, depend heavily on the breathing technique. Ensure that you are steadily breathing in and out of the air through your nose while doing the lotus pose. It is recommended to elongate while exhaling.
- Correct Your Shoulders: To enhance the outcome of the pose, sit erect and lift your shoulders. Now roll them back and pull them downwards. This will help in relieving the tension in your shoulders and increase blood circulation. Keep your neck elongated with a front gaze, even if your eyes are closed.
Conclusion
Unlocking the perfect lotus pose is a celebrated upgrade in one’s yoga journey. Padmasana is synonymous with patience and practice, as this posture requires some time, consistency, and a lot of flexibility. Given that it has an array of benefits, every yoga performer strives to do the lotus pose. It decreases muscular tensions, calms and relaxes the mind, and offers many more physical and mental perks. It is best to try this with an instructor and begin by doing a lot of hip-opening exercises. However, always keep a note that if the external rotation of the hip may not be possible for everyone, the lotus position must be practiced with a lot of self-awareness.


 JOIN OUR WHATSAPP CHANNEL


