Seated Yoga Poses to Stretch And Rejuvenate: Types And Benefits
Here are some seated yoga poses that are perfect for beginners or for those who simply want to do some exercises that don’t require one to be up on their feet.
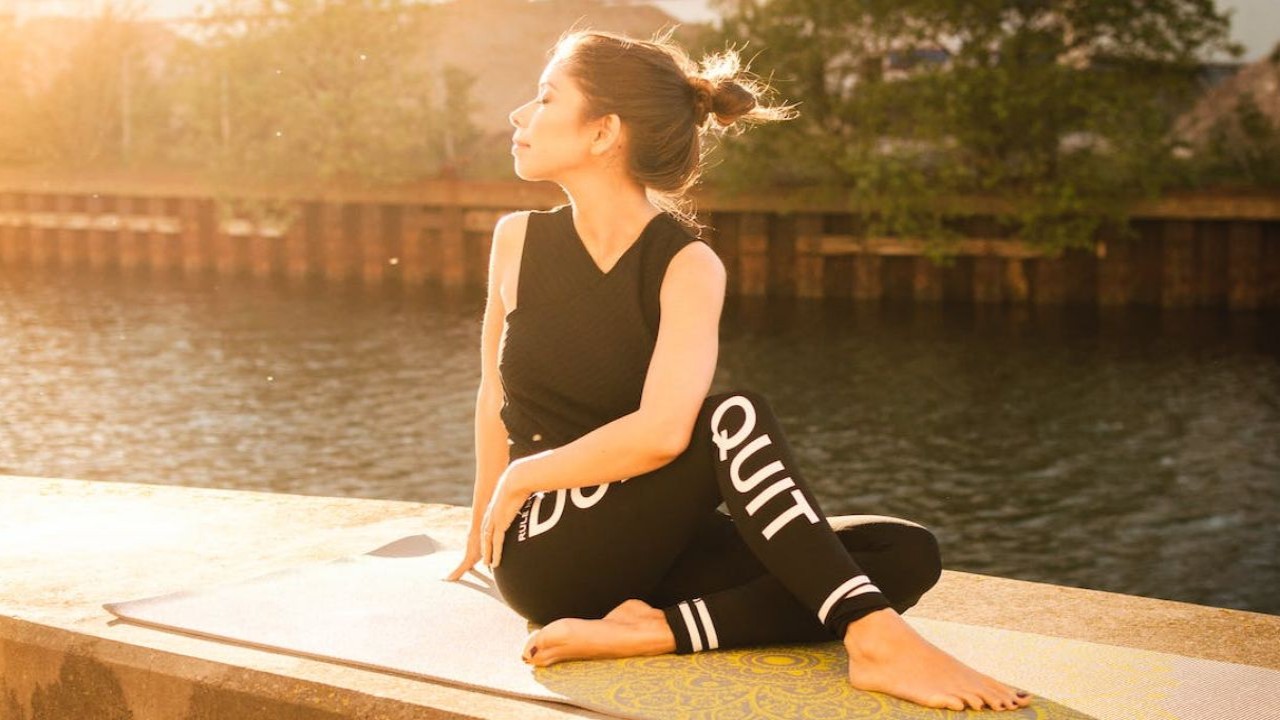
In a world where people spend an awful amount of time staring at screens and having poor posture for hours together, simply getting down on the yoga mat is quite meaningful. And, while getting someone with a sedentary lifestyle to exercise more may seem like a huge task, seated yoga poses are a great place to start.
Generally, people with an ‘all-or-nothing’ attitude towards exercising scornfully dismiss sitting yoga poses, thinking it is too low-impact and ineffective for weight loss, cardiac health, or overall fitness. However, some studies show that yoga poses in seated postures, whether in combination with or without standing yoga postures offer numerous health benefits (1), (2), (3).
Falling under the realm of seated yoga is chair yoga, which is a modified form of yoga to accommodate older adults (senior citizens) and people with health conditions such as arthritis and joint pains. Such exercises can also cater to individuals who spend a lot of time working, seated on a chair, to invigorate their muscles and joints without having to stand up. Studies demonstrate the impressive benefits of such seated yoga for people who are not fully capable of practicing more traditional, high-impact exercises (4), (5).
Let’s read ahead to further understand the positives of sitting yoga poses, learn about some effective and beneficial poses that you can incorporate into your fitness regime, and understand the risks and downsides of such poses
Benefits of Seated Yoga Poses And Why You Must Incorporate Them in Your Routine
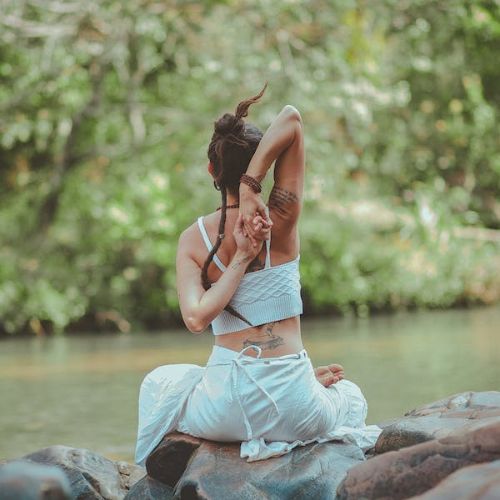
The following are a few benefits:
1. Great for Beginners
Whether it is about elevating your yoga routine or starting yoga as a beginner, seated asanas are a point of leverage that helps increase one’s range of motion gradually. The idea here is that someone completely new to yoga shouldn’t start with an overly challenging standing asana as that may come with a risk of injury and loss of balance. Sitting yoga asanas make one feel more grounded and allow one to work in harmony with gravity, and not against it.
2. Improves Flexibility
While standing yoga poses target balance, common seated yoga poses, such as janu sirsasana and rajakapotasana, aim at stretching target areas of the body. This enhances the range of motion of the body, thereby boosting flexibility, which is an important parameter in physical fitness (6).
3. Targets the Abdominal Region
Whether the sitting yoga asana comprises a forward stretch or a backward fold, the core is always the area which one leverages strength from. Hence, in a way, all seated asanas are directly or indirectly targeted at the core. Be it core-stretch exercises such as ustrasana or balance exercises such as navasana, they all show numerous benefits in boosting core stability, flexibility, and balance (7), (8).
4. Reduces Muscle And Back Ache
By practicing carefully choreographed seated yoga sequences, one can alleviate and reduce muscle soreness and back pains (especially, in the lower back) (9).
5. Fewer Risks
Jumping to standing yoga poses, without preparing the body with seated yoga stretches or floor yoga poses can risk injury and a loss of balance in individuals (10). Hence, practicing sitting yoga first is all the more essential. Besides, some relaxing seated yoga postures help alleviate joint and knee pains that other standing or squatting exercises may not be able to.
Now that you have understood the major benefits of practicing yoga in seated positions, let us learn more about some common basic and advanced sitting yoga asanas, and steps to practice them correctly.
What Are Basic And Intermediate Seated Yoga Poses?
The following is a list of 10 popular seated yoga asanas (basic and intermediate), and short guides on how to practice them.
Basic Yoga Asanas:
1. Gomukhasana (Cow-faced Pose)
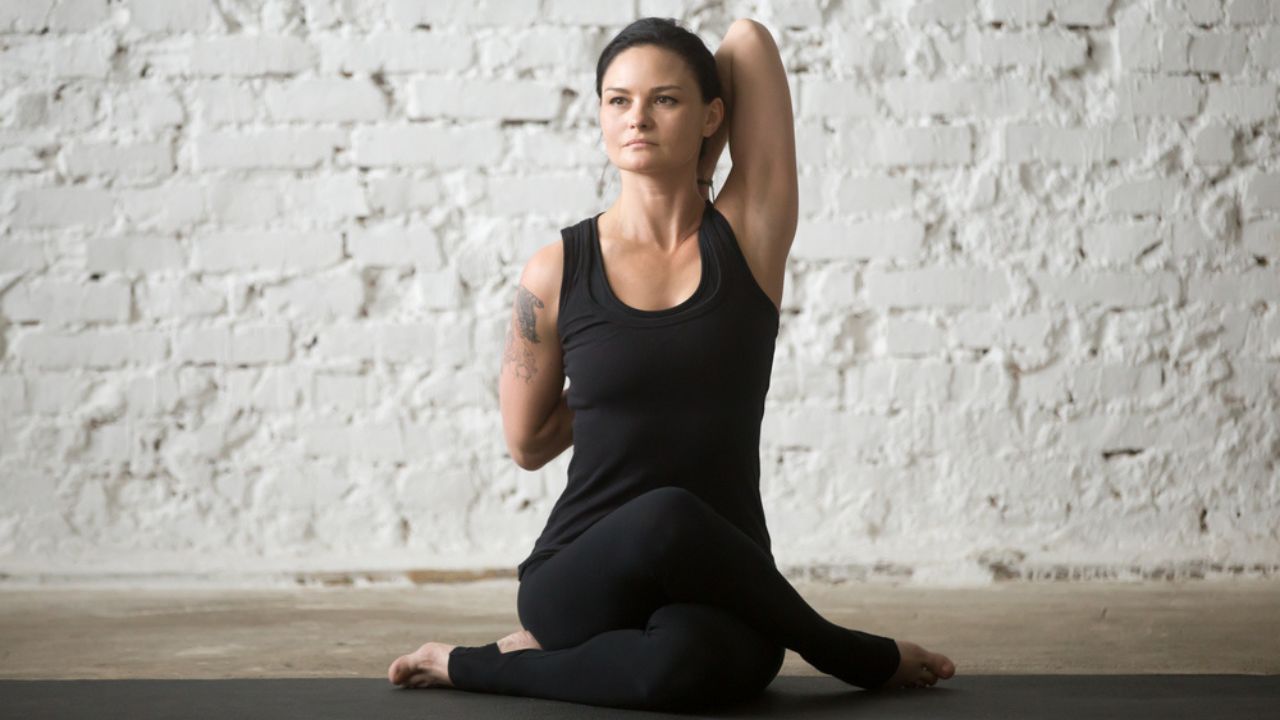
A popular cross-legged position in both modern and hatha yoga, gomukhasana is a great addition to one’s fitness regime. While it targets the whole body, it is an easy pose that helps improve one’s posture and instills relaxation in a strenuous workout routine. Start by being seated in a classic dandasana or staff pose, keeping your back straight. Cross one leg over the other. The knees should be stacked one upon the other at the center of your body, and the outer edges of the right foot and the left foot should be touching the ground. You can elevate this pose by extending one elbow toward the ceiling and sweeping both arms behind your back. Then, clasp your hands behind your back to enhance stability in the pose.
2. Padmasana (Lotus Pose)
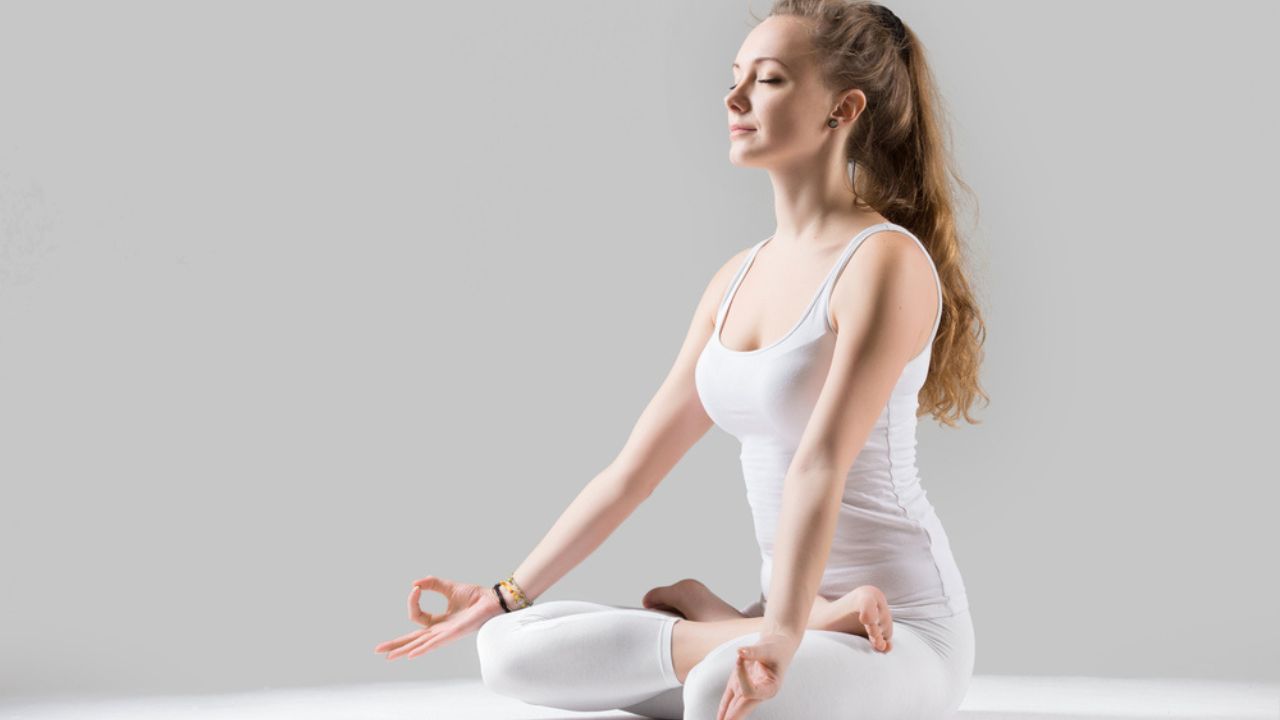
Start in an easy seated staff pose. By using your hands, cross your right leg over the left, in a way that the right knee extends outwards at the right side of your body and the right ankle rests on your left thigh. Repeat the same with the left leg, ensuring that the ankles (or shins, if you can get deeper) are stacked one upon the other, and both your feet intersect close to your navel. Try to maintain as little distance between the base of your spine and your crossed legs as possible.
3. Paschimottanasana (Seated Forward Bend)
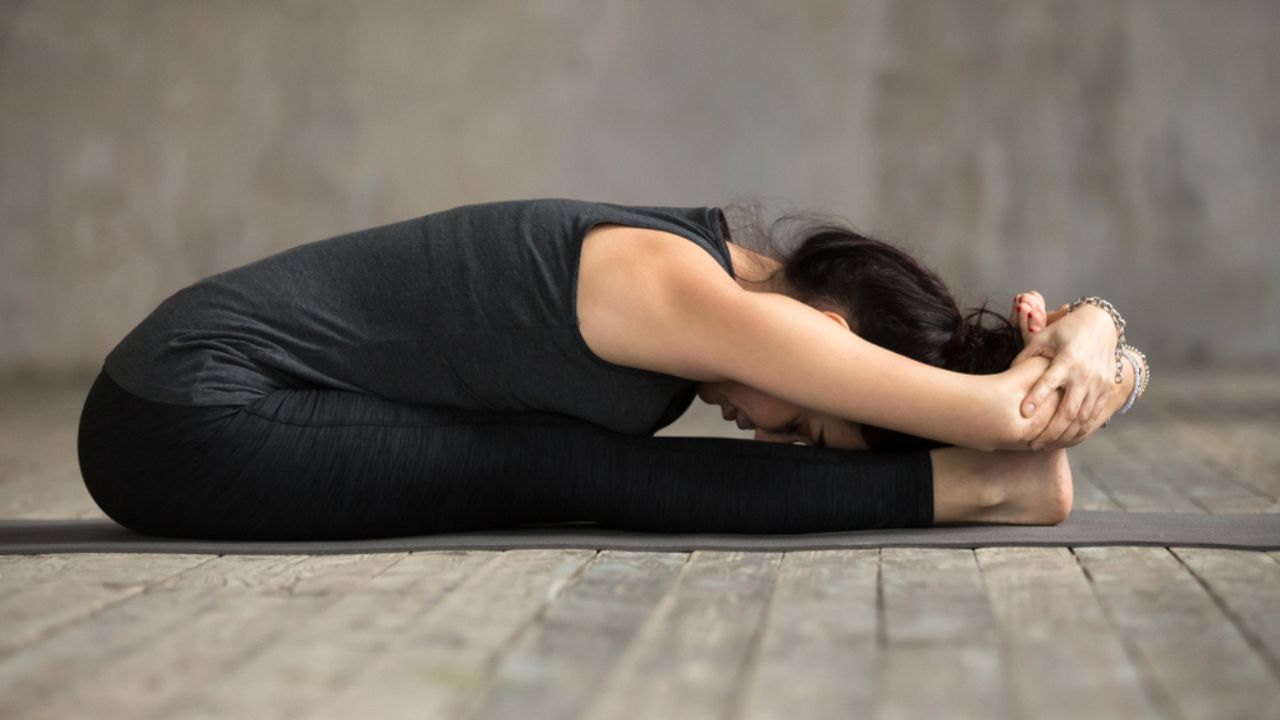
This yoga pose is as simple as it gets, but whether one finds it easy or not varies across flexibility levels. However, even by practicing a modified version of this pose, one can significantly enhance their range of motion, while also facilitating movement in other yogic poses.
To begin, sit in a staff pose and press your heels away from your body. Take a deep breath in and lengthen your spine. Then, exhale while gradually folding your upper body forward to layer on top of your legs. Hold this pose for 2-3 minutes, or as long as you are able to before retracting. If you’re unable to go all the way, consider folding your knees slightly to meet you halfway, and practice this exercise daily until you’re able to master the pose.
4. Parighasana (Gate Pose)
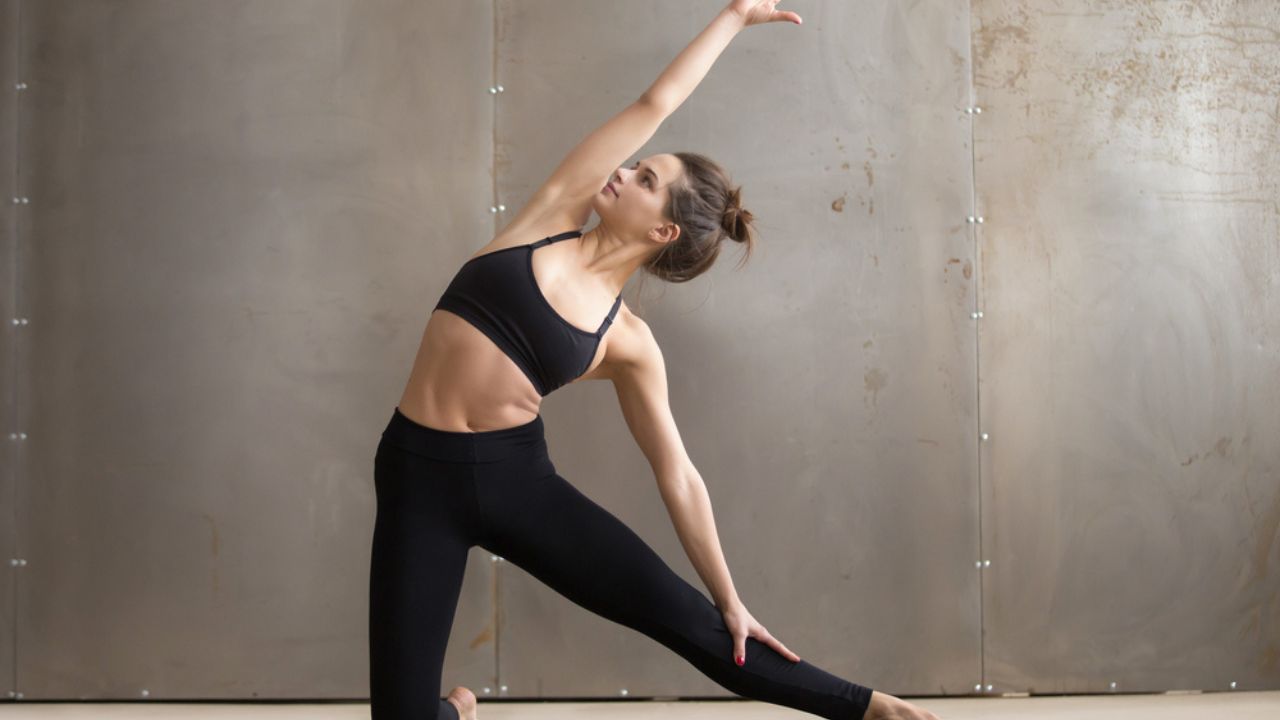
To start the pose, get down on the knees and press your toes down to the mat, or curl up on your toes and grip the mat — whatever helps you stabilize the body. Extend the right leg toward the right side of the body, while straightening the right knee and placing the right foot flat on the ground. Then, extend your right arm and place it over your right leg for better stability. Stretch your left arm toward the right side of the body, in a way that your side obliques get a nice stretch. Your neck can tilt in the direction of the left arm, as you look up as far as your vision goes without straining the neck or shoulders. Hold the pose, and repeat on the other side.
5. Eka Pada Rajakapotasana (One-legged King Pigeon Pose)
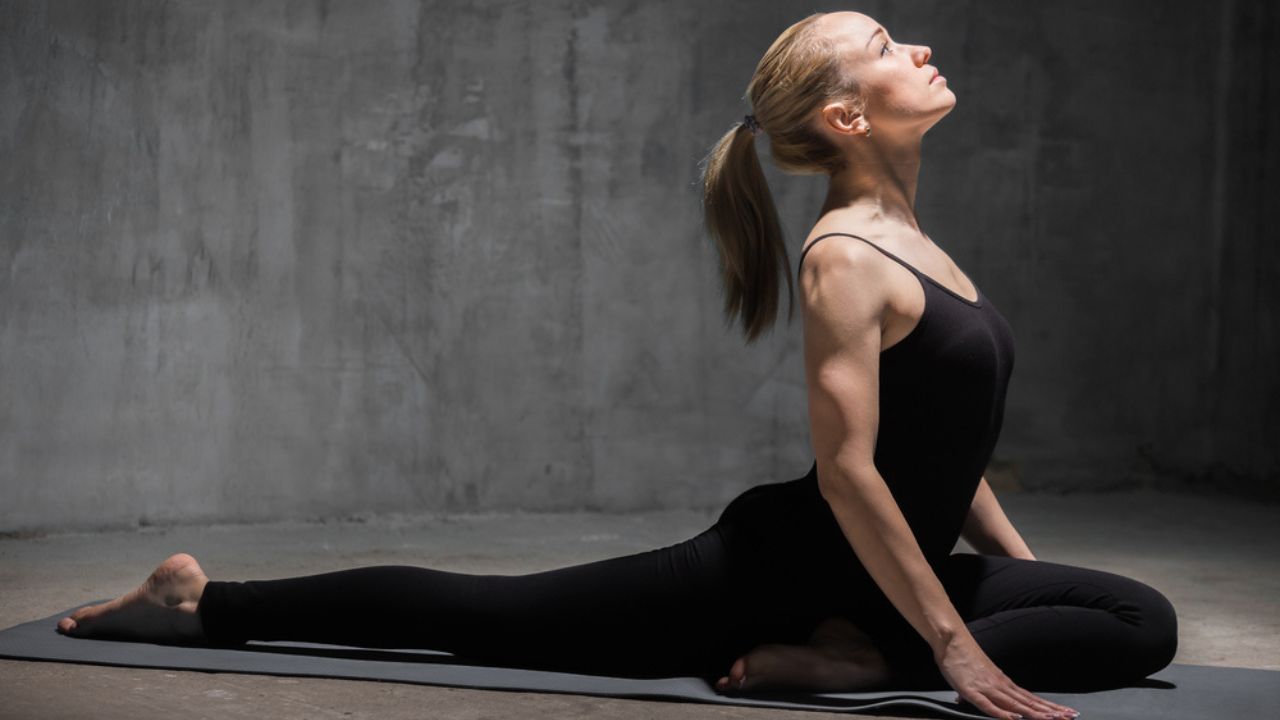
The ideal way to start this pose is from a downward-facing dog or a tabletop position. Extend your right leg up — toward the ceiling — as high as it goes. Retract your right knee inward, so that it reaches the top of your mat, and open up the right shin in a way that it’s parallel to the edge of the mat (think: a 7-shape with your leg). Then, try to sit comfortably in that position, placing your hands on the front edges of your mat for balance. Next, go down into a forward fold with your upper body. Then, bring it back up, and go down again, aligning the back-and-forth movement with your breath. Do the same on the other side.
Intermediate:
1. Ustrasana (Camel Pose)
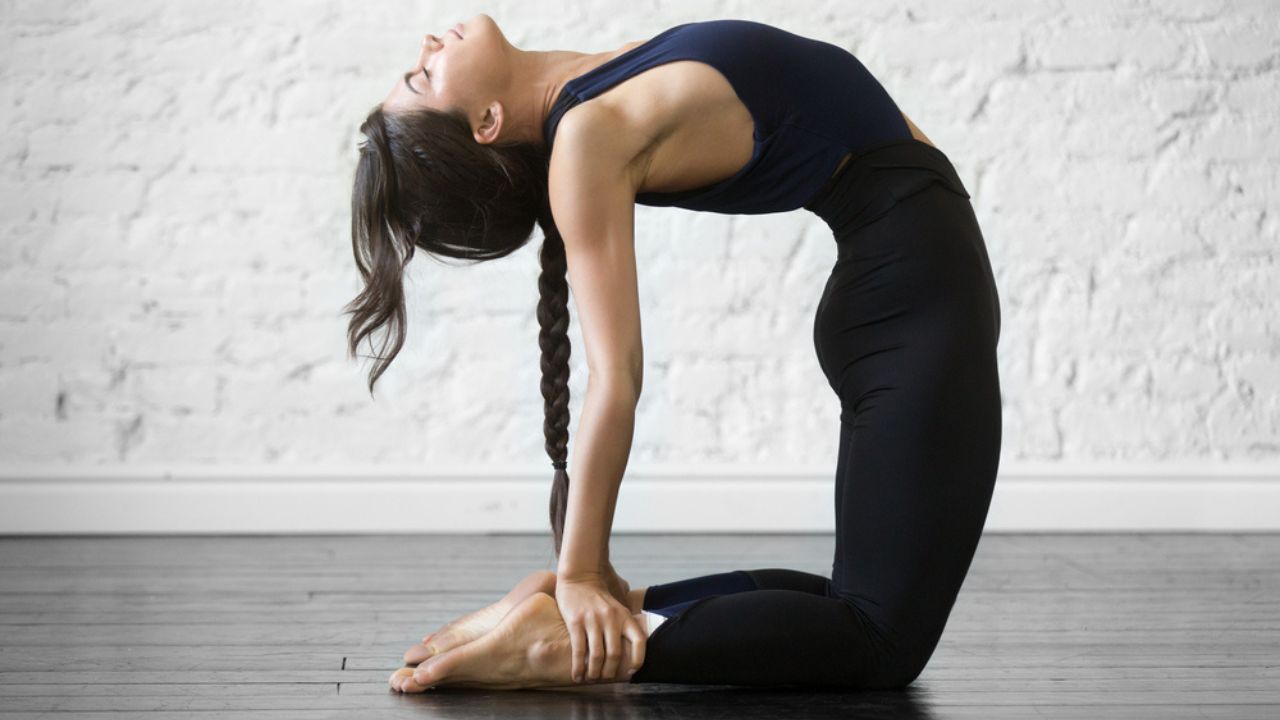
Kneel on your yoga mat, with your legs placed perfectly parallel to each other, hip-width apart. After ensuring that your body is fully centered and balanced, gently bend your spine backward, with your head tilted behind and nose facing the ceiling. To get a grip, use both your arms to clasp the ankles on respective sides of the body, in a way that enhances the intensity of the pose.
2. Ardha Ustrasana (Half Camel Pose)
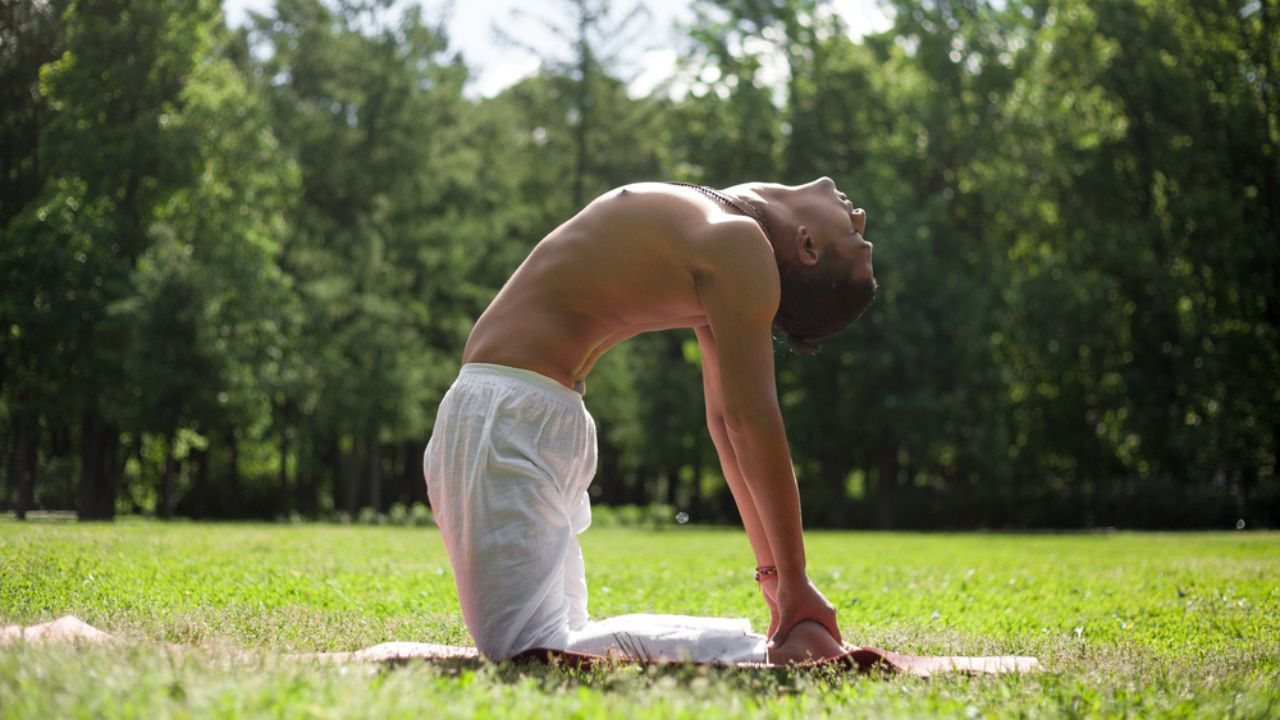
Start the pose in ustrasana as mentioned above. Take a deep breath in and replace the clasp of your right hand to the right ankle, with the left hand. To stabilize your form, lift the displaced right arm and extend it overhead, toward the left side of your body. This advancement of the pose is a great way to challenge yourself and enhance endurance after you’ve been practicing ustrasana for a while.
3. Vikasitakamalasana (Flowering Lotus Pose)
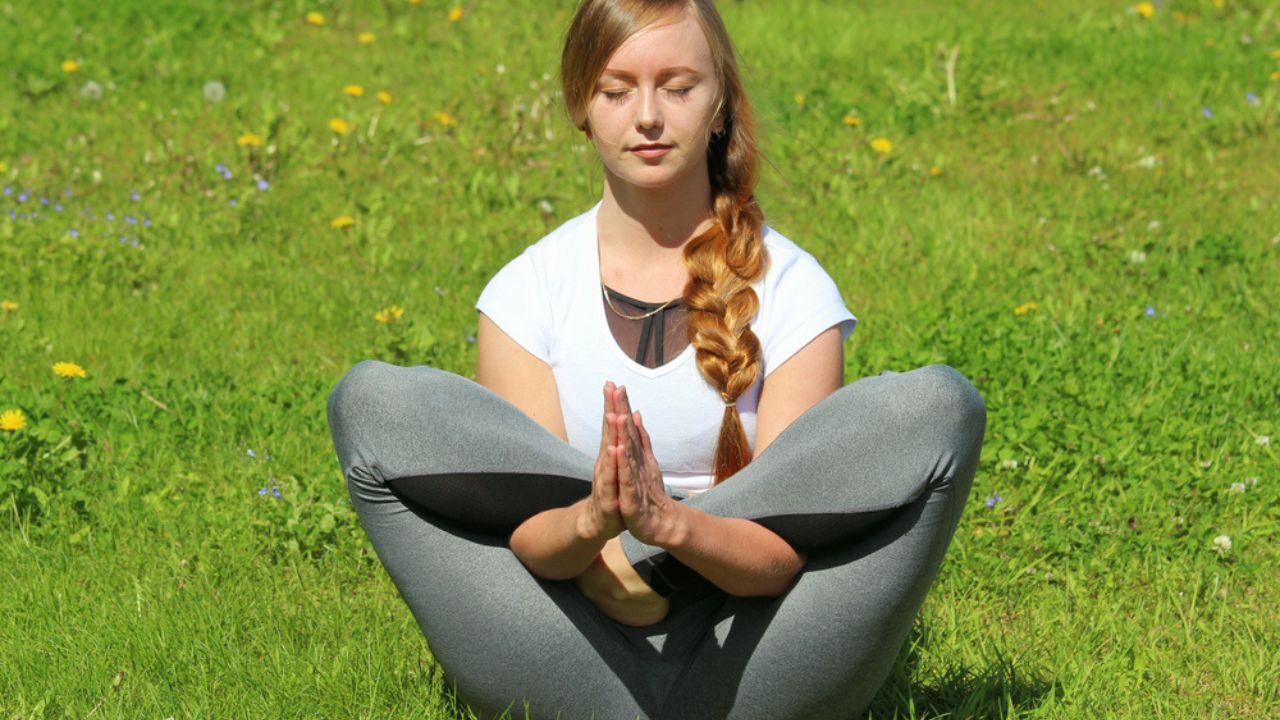
Start by being seated in a cobbler’s pose. By being mindful of your breath, bend your upper body down into a forward fold. In the fold, insert both your arms in the respective folds of the knees, cutting through the cross-legged pose. Leverage your core strength to make your spine more erect in the pose, and lift your crossed legs in the air, while they are still intertwined with your arms. Balance on your hip bone, getting into a V-shaped sitting pose. Hold the pose for 1-2 minutes before releasing.
4. Malasana (Garland Pose)
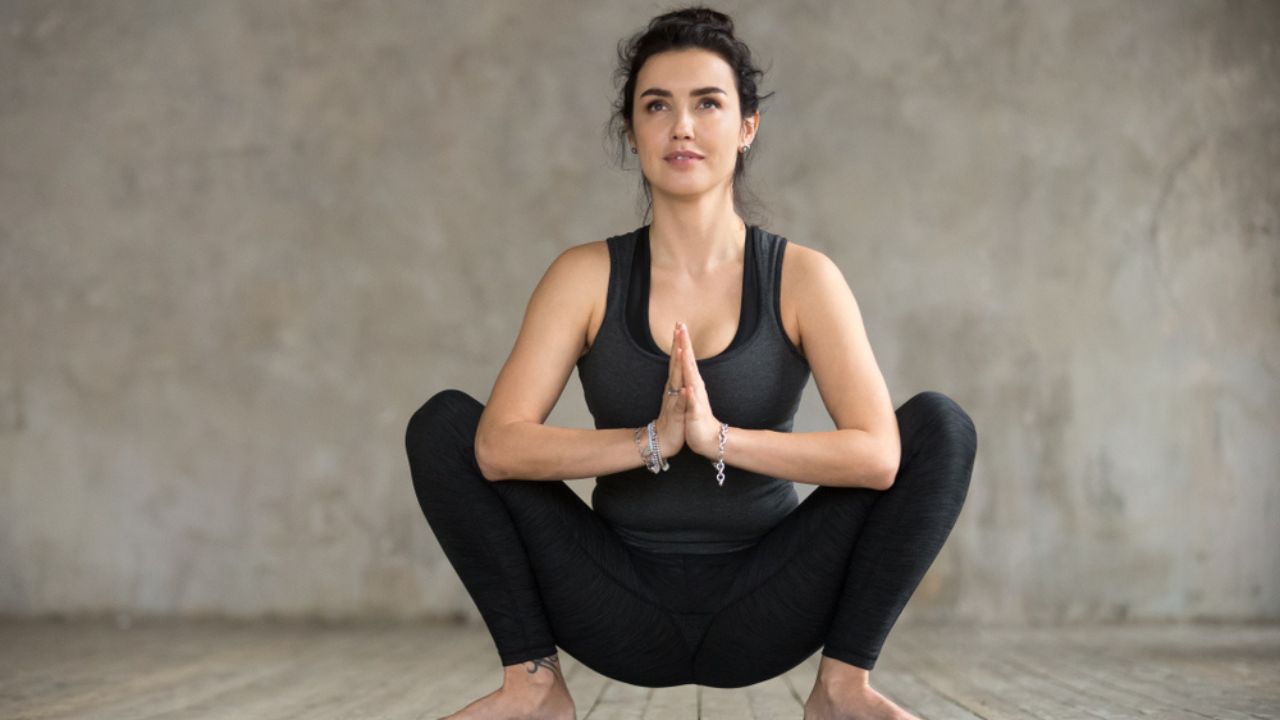
While being similar to a squat, the garland pose doesn’t require your hips to hang mid-air, which doesn’t put a lot of pressure on your knees and glutes. Notwithstanding that, malasana is highly beneficial for your body and is incredible for boosting flexibility. Stand in an upright position on your mat, with your feet hip-width apart, toes turned out at a 45-degree angle. Inhale deeply, and exhale gradually while squatting your hips as low as it can get, while your feet are still placed flat on the ground. Try not to lose stability in this pose. Then, push your knees back by leaning your triceps on them respectively and place your palms together into a namaste gesture. Leverage the outer thighs to keep the knees in the same position, and hold the seated pose.
5. Navasana (Boat Pose)
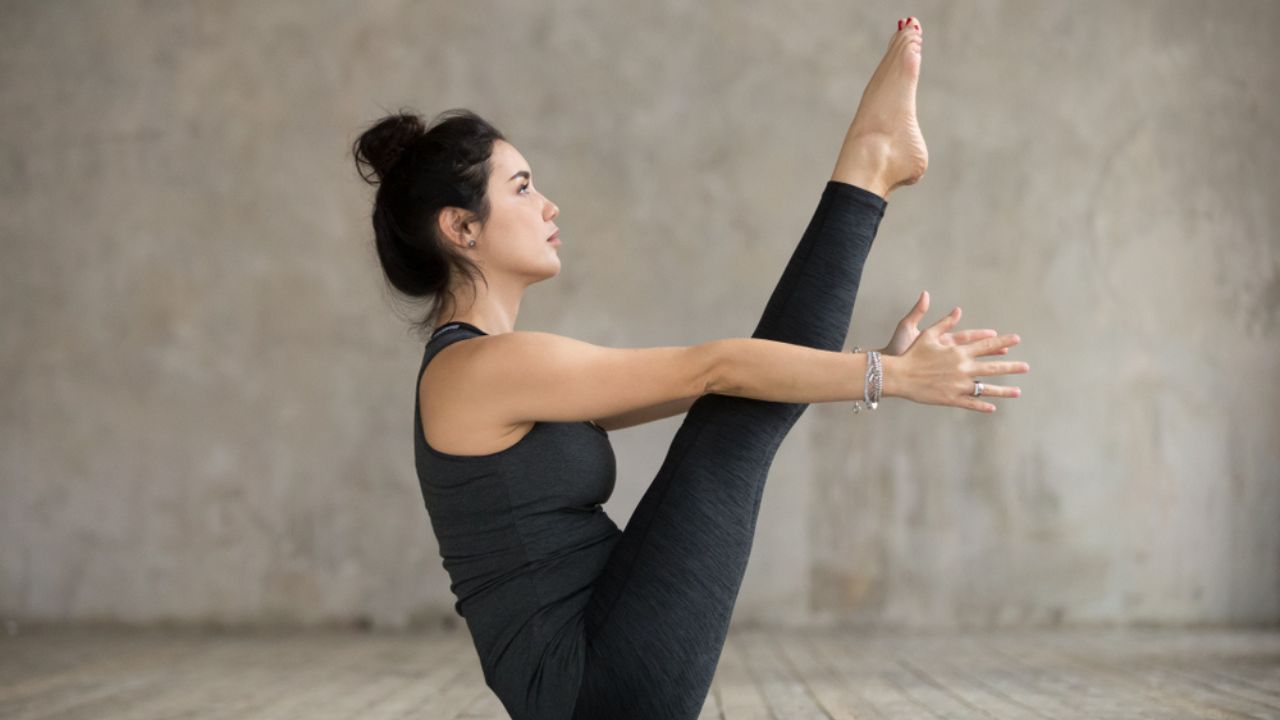
While there are many ways to transition into this pose, depending on how the seated yoga sequence has been choreographed, you can start in a supine position if you want to practice this pose alone. Take a deep breath, and as you exhale, lift your legs and upper body simultaneously, as high as they can get while you balance your body on your hips. Extend both your arms parallelly toward your feet, in a way that you’re bridging the gap, without actually touching the feet. Keep breathing and try to hold the pose for 20 seconds to a minute.
6. Kurmasana (Tortoise Pose)
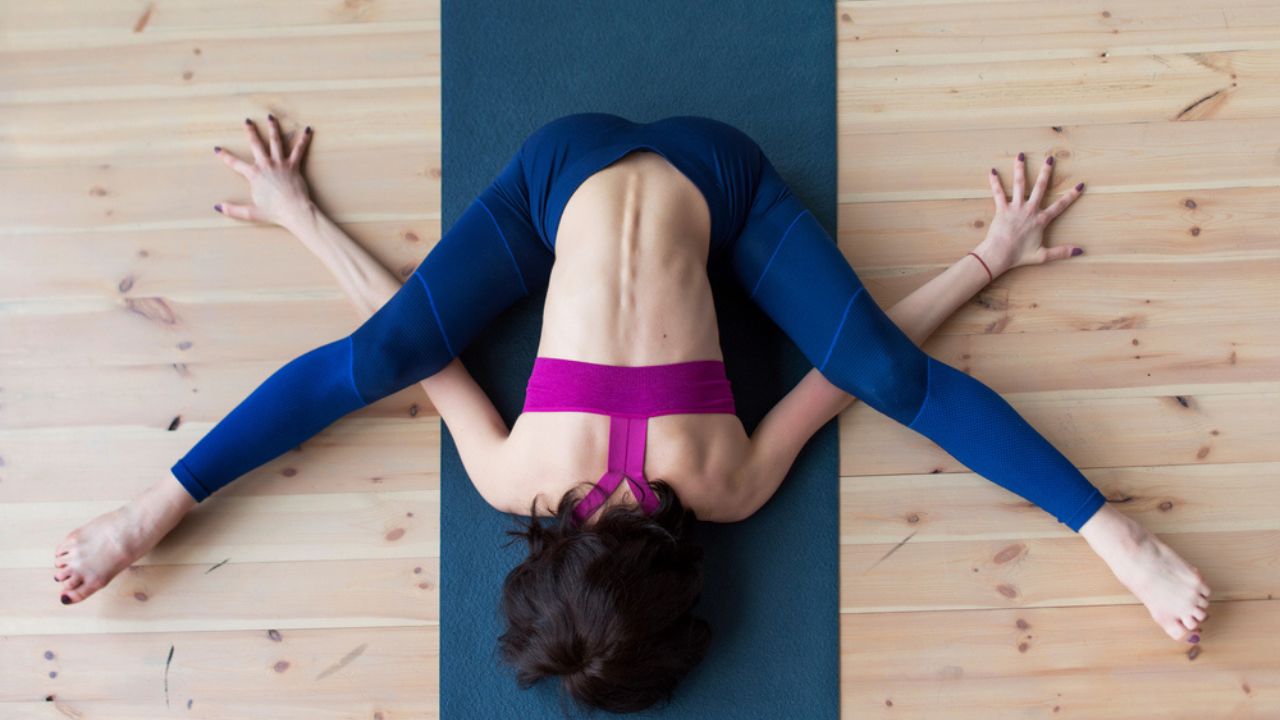
Start by sitting in a comfortable staff pose, and extend both legs out to the sides of the yoga mat, with the knees bent generously and feet pressed flat on the mat. Bend your upper body into a forward fold, and slide your arms from under the legs, on the opposite sides of your body. Gradually and carefully, slide your feet slightly more toward the center, till you find them parallel to each other. Take a deep breath, and exhale while lifting your feet facing up and sliding the heels forward. Next, slowly try to place your head onto the mat and condense into the pose. Hold for five counts before you release the pose.
Who Should Avoid Seated Yoga Poses?
The benefits of seated yoga poses are countless. However, every coin has two sides, and no matter how good a pose is, there will be some people who must refrain from practicing it. The following is a list!
People with Hernia
Some seated yoga poses such as ustrasana, vajrasana, or paschimottanasana can indeed be beneficial for people with a hernia. However, other yoga asanas that involve sitting, such as kurmasana, may trigger the hernia and worsen the condition. Hence, people with hernia should avoid such exercises (11).
People with Injuries, Arthritis, Or Sciatica
Strenuous sitting asanas such as in hatha yoga, or any unsupervised seated poses practiced by beginners may have adverse health effects for those with osteoarthritis, severe back pain, shoulder pain, tendon shortening, or sciatica. Hence, such people should avoid certain seated yoga asanas, or practice only under expert supervision (12).
Pregnant Women
Pregnant women should avoid the above-mentioned advanced seated asanas, such as navasana at all costs as they come with a high risk of falling or abdominal trauma (13).
Conclusion
So there you have it. The above-mentioned list comprises seated yoga poses for beginner, intermediate, and advanced-level practitioners to encourage one to get onto the yoga mat, stretch and condition the muscles, increase one’s range of motion, and boost endorphins in the body (14). For challenging seated poses, one can of course use a yoga block or strap to facilitate movement. Yoga poses that require sitting are a great way to kickstart a yoga routine in a neutral position, and as a way to warm up and challenge the body into deep stretches followed by a vinyasa flow or a couple of standing yoga poses. Sitting yoga asanas are also a significant part of Yin yoga, which is a sublime practice in itself to boost blood flow, flexibility, and confidence in challenging oneself on the mat. Hence, it is highly encouraged that one practices such seated poses regularly.
Yoga for Nausea: 9 Best Poses to Alleviate Discomfort
Yoga Poses for Back Pain: Soothe Your Spine with These Practices


 JOIN OUR WHATSAPP CHANNEL


