How to Do Cobbler’s Pose (Baddha Konasana) to Open Up Your Hips
With the cobbler’s pose (baddha konasana), you can activate the root chakra of your body and reap numerous health benefits. Here are steps to practice the same.
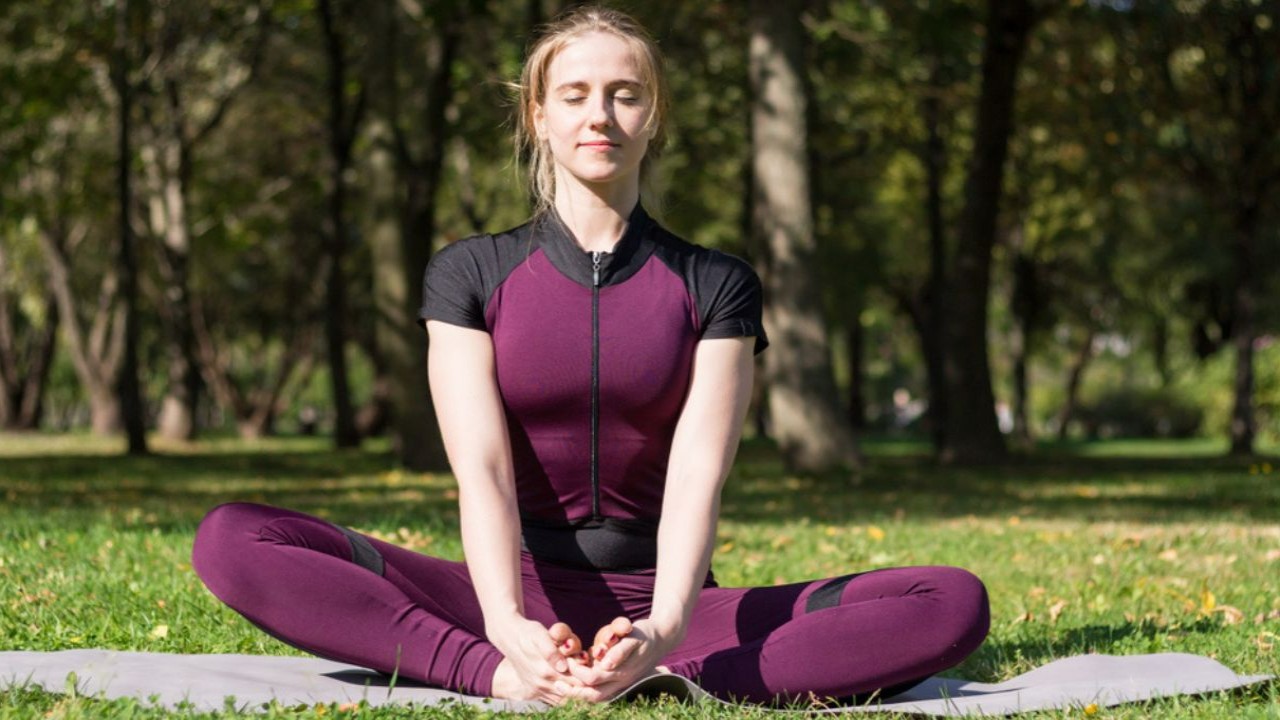
Countless yoga poses have been inspired by or named after things commonly observed in the surroundings, such as boat pose (navasana), bridge pose (setu bandhasana), bow pose (dhanurasana), tree pose (vrikshasana), etc. One such pose is the cobbler’s pose, which is a hip-opening yoga pose that mimics the seated posture of a cobbler at work. Often seen in hatha yoga, yin yoga, and other modern yoga routines, this is an excellent pose to enhance flexibility, stability, and balance. Let’s read more about this pose and its benefits to understand why should incorporate it in our fitness routines.
What Is Cobbler's Pose (Baddha Konasana)?
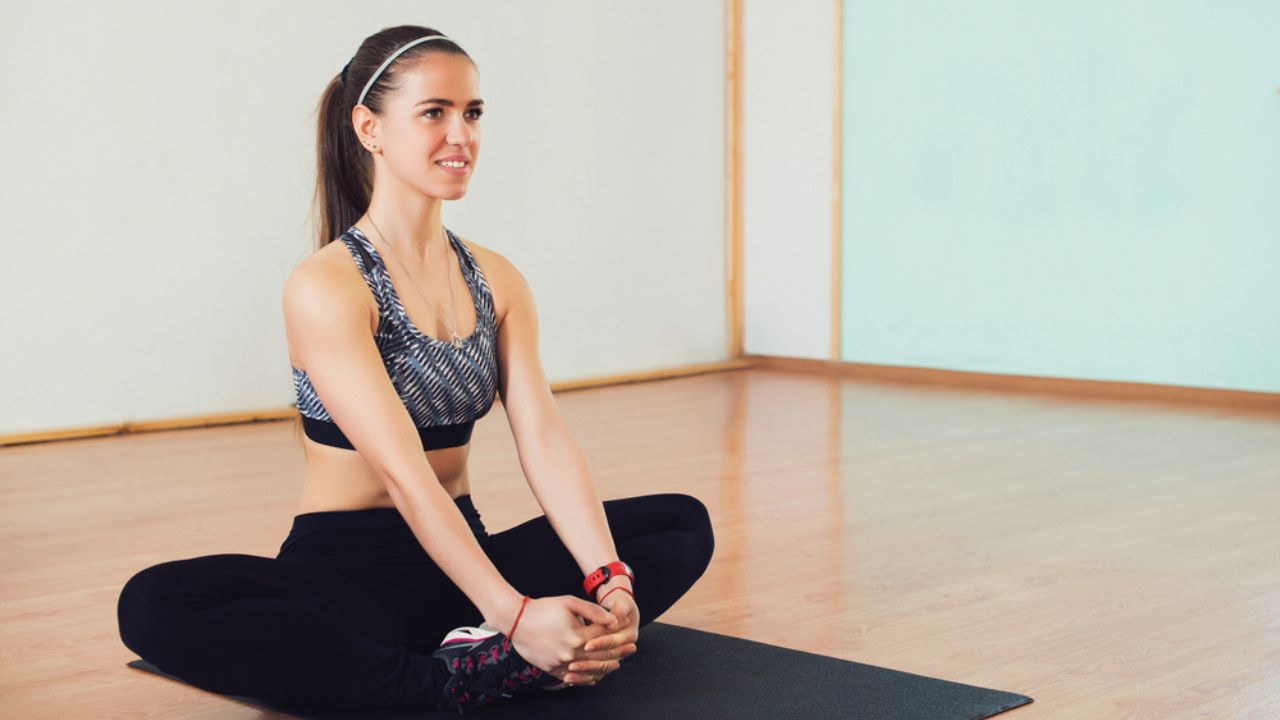
Cobbler’s pose is also referred to as the butterfly pose, as the movement of the folded legs in the pose resembles the flapping of a butterfly’s wings. However, its Sanskrit name baddha konasana, literally translates to “bound angle pose”, which perfectly describes the pose as it indeed comprises an angled structure that holds you in the pose and prohibits movement.
It is a popular and effective hip-opener, and a great pose for beginners, intermediate, and advanced-level yogis. While the pose seems very simple, it shows impressive benefits in strengthening the hips, inner thighs, core, and pelvic floor. And, despite its simplicity, several subtle variations to this pose serve different purposes. It is also a counter pose for sitting upright on a chair.
For example, in hatha yoga, your trainer may want to pull your feet as close to the pelvic floor as possible, while also pushing the knees down as far as they go. On the other hand, in a relaxing yin yoga routine, the trainer may ask to you go a little easy and increase the range of motion as gradually as you can. Other variations of this pose include the half butterfly pose (ardha baddha konasana), or reclined cobbler’s pose (supta baddha konasana), practicing which will eventually help you perfect the classic baddha konasana without any modifications. The use of yoga straps and blocks also helps facilitate this pose.
How to Do Cobbler's Pose Yoga?
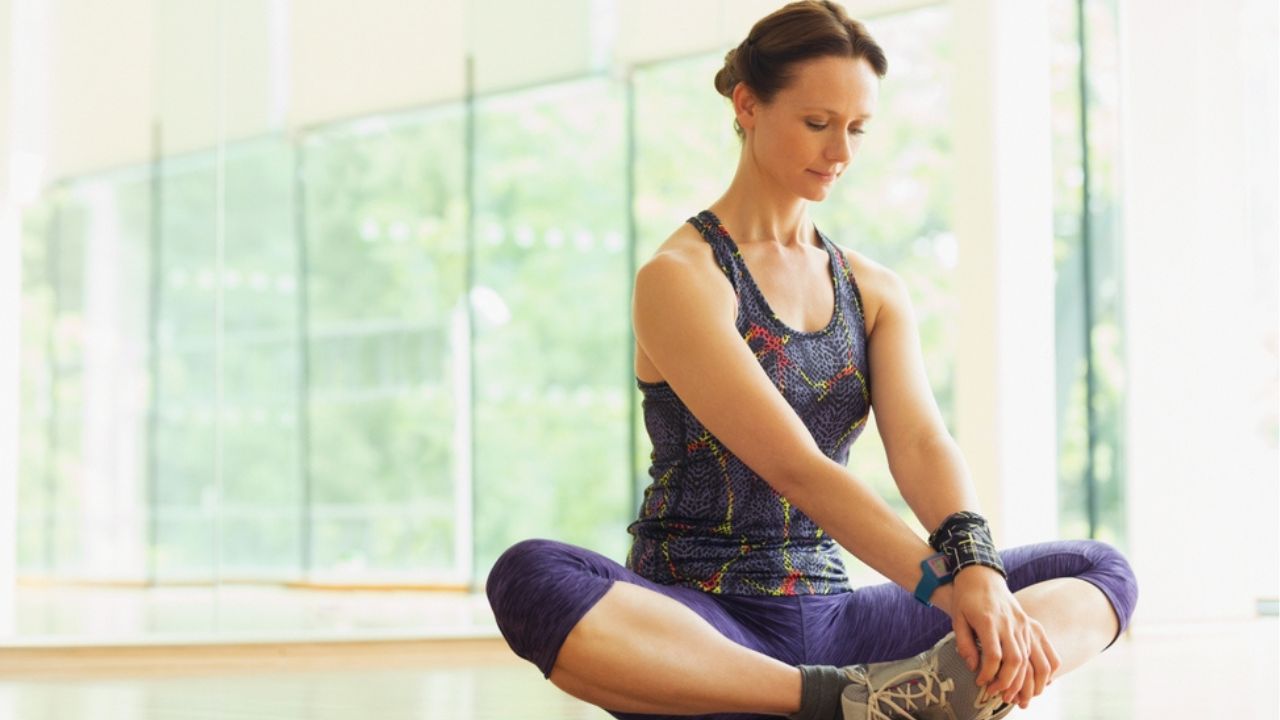
Step 1: Start by sitting up straight on your mat in staff pose (dandasana).
Step 2: Fold the knees of both legs, while opening the legs up on both sides of the mat.
Step 3: Get the outer edges of your feet to touch each other firmly, with the parallel heels (ideally) touching the pelvic floor.
Step 4: At this stage, you may notice that your knees on either side have risen up. Now, while keeping your back straight and your feet where they are, push your knees flat on the mat by leveraging your hands, as far as they go.
Step 5: This step is optional, but you can place two yoga blocks under both knees if you’re a beginner and are unable to press lower. With consistent practice, you will be able to perform this without the blocks.
Step 6: Once the folded legs have been pushed as flat as they can get, clasp your ankles with your hands to stabilize yourself in the pose.
Step 7: Once you have stabilized in the pose, you can deepen your breath cycle in the pose.
Step 8: When releasing the pose, ensure you release the clasp of your hands and slowly straighten your legs, one at a time. Avoid doing this too fast to prevent jerks or causing any unnecessary pain in your joints.
Considering that the classic cobbler’s pose is a fairly simple asana, which doesn’t require any twists or balance, there isn’t a precisely set duration for holding the pose. However, some expert yogis recommend holding the pose for about 5 minutes of 10 to 15 breaths for best results. If you are new to practicing this, start by holding the pose for a lesser duration and gradually push yourself to hold it for longer, perhaps even over 5 minutes if your body can take it. With regular practice, one should definitely aim to get the pose deeper.
For the Butterfly Pose Variation:
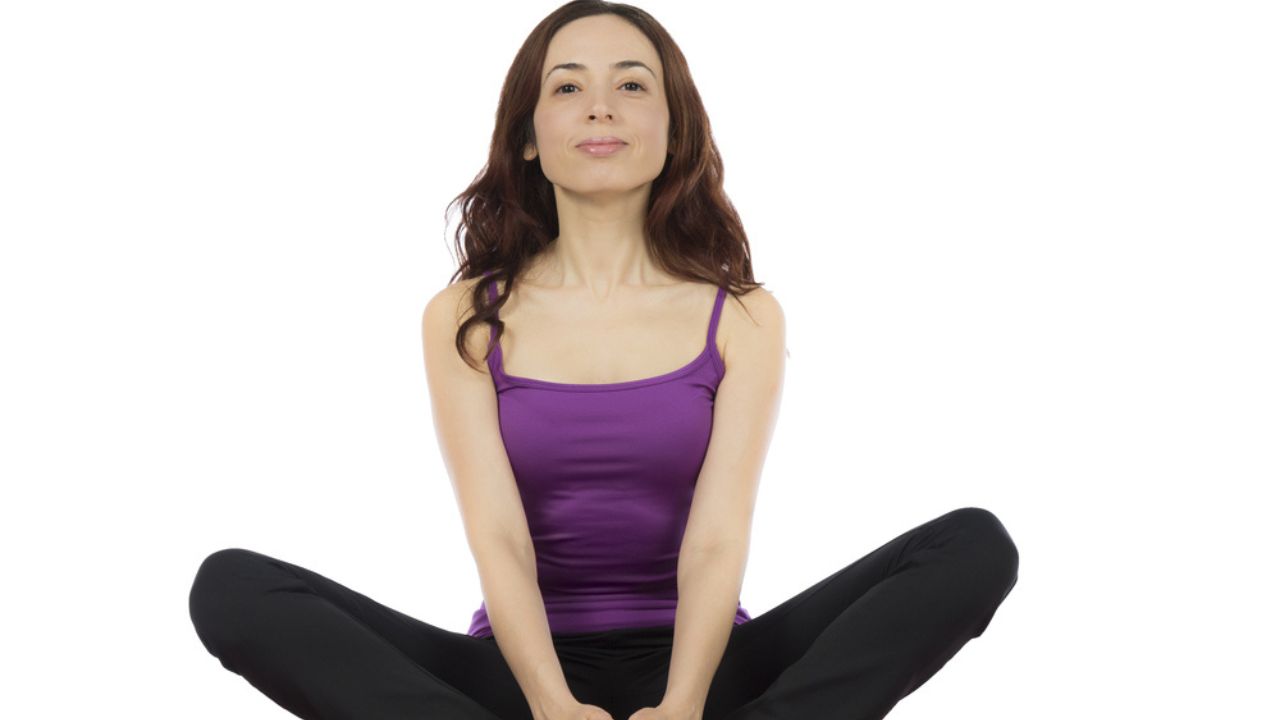
While in the pose, waggle your knees up and down at the same time, in a rhythmic motion. Try to push your knees as low as they can get when going down, for a greater range of motion. Chances are that at this stage, the base of your spine will start sliding back to make space or your back may start to bend forward for support. However, resist the urge to do so by firmly gripping your ankles and straightening your spine. Do this for a minimum of 3-5 minutes at a stretch, before releasing the pose.
For the Leaning Bound Angle Variation:
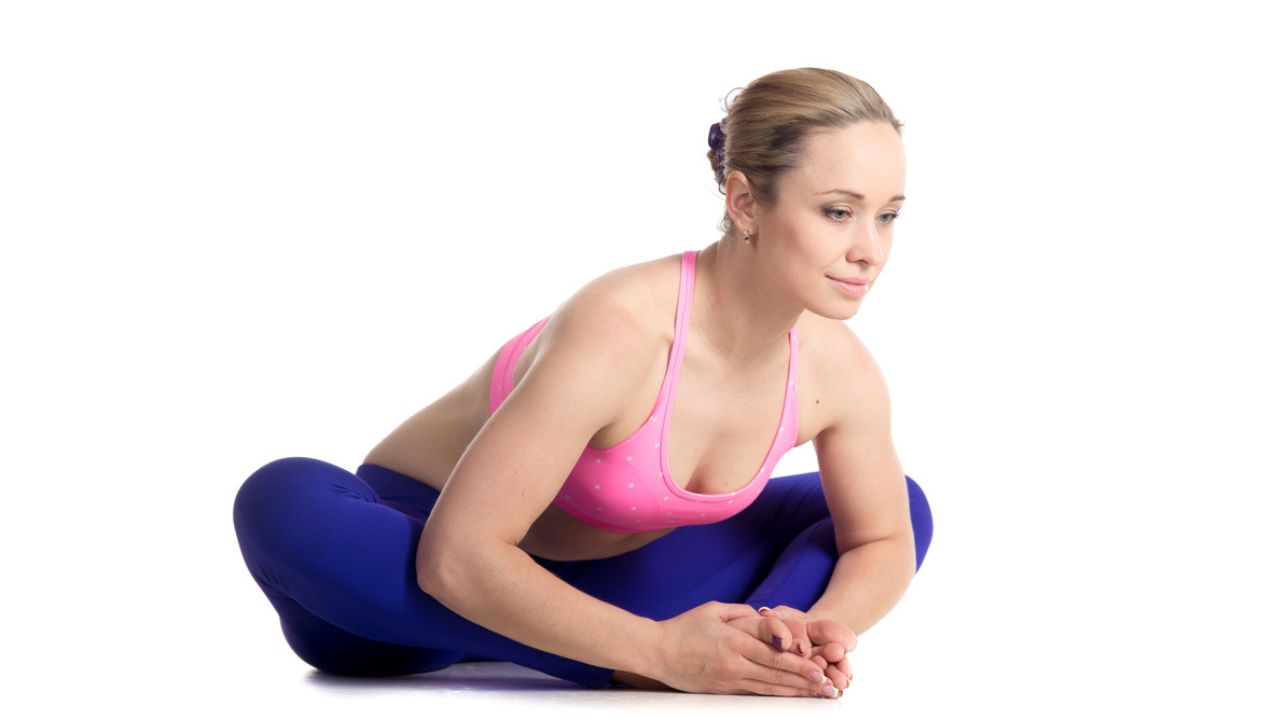
Stabilize yourself in the cobbler’s pose with your hands clasping at the ankles. Then, inhale deeply, and as you exhale, gradually bend your spine forward, aiming to touch your head to the mat. After you get as low as you can, inhale and gradually make your way up. Align your breath with this movement and keep going back and forth for 5 to 10 breaths, before you release.
5 Benefits of Cobbler's Pose Yoga Practice
Like every yoga pose, the humble cobbler’s pose too, offers a plethora of benefits. Read ahead to understand why you need to incorporate this asana in your fitness regime.
1. Improves Range of Motion
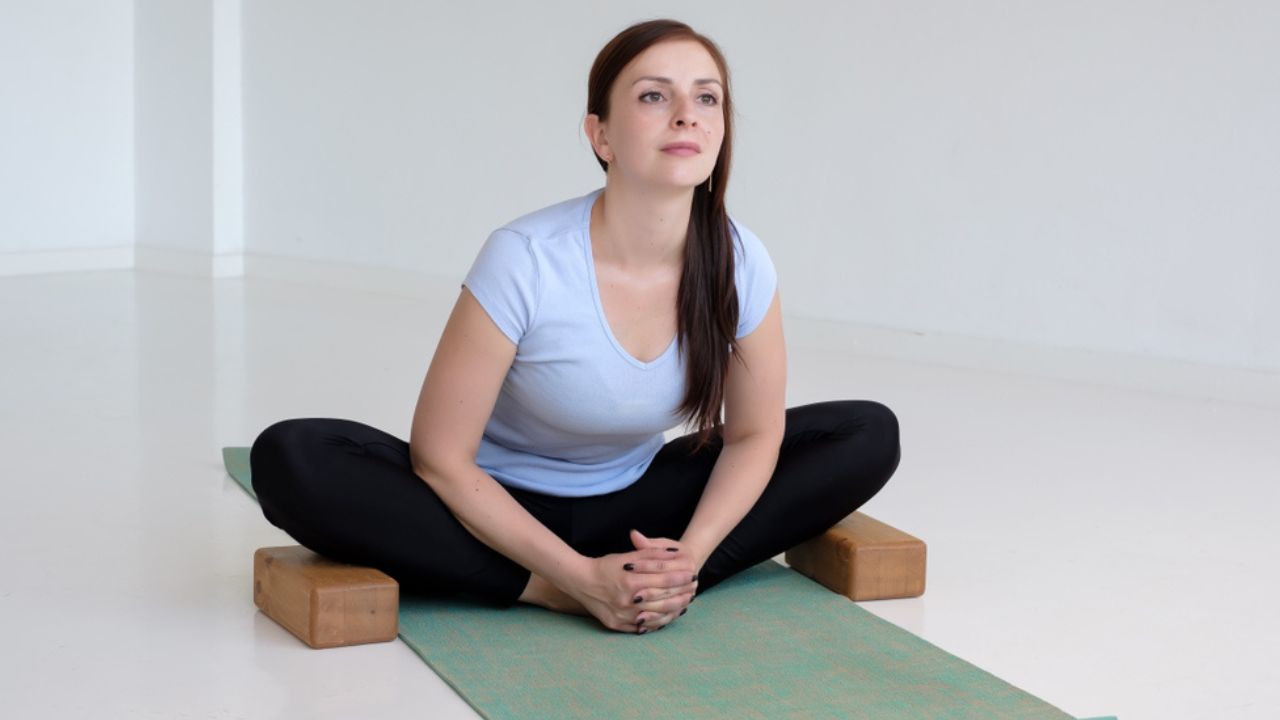
A study demonstrates how hip-opening seated poses, including the baddha konasana offers generously increase one’s physical flexibility, especially in the lower back, groin, and hip area (1). This enhanced range of motion boosts your overall functionality and greatly facilitates movement in other yogic poses as well. And to achieve this, you don’t have to practice this asana rigorously from day 1. You can start by practicing the modified version of this pose, till you are able to master the actual pose.
2. Alleviates Menstrual Problems

By stimulating blood flow and areas such as the core and the pelvic floor, the cobbler’s pose helps alleviate menstrual problems such as cramps and excessive bleeding. Baddha konasana, in addition to other hip-opening poses such as ardha kurmasana and setu bandhanasa, significantly reduces oxidative stress (homocysteine), thereby having a therapeutic effect on menstrual problems such as dysmenorrhea as well as on symptoms of menopause (2), (3).
3. Reduces Lower Back Pain
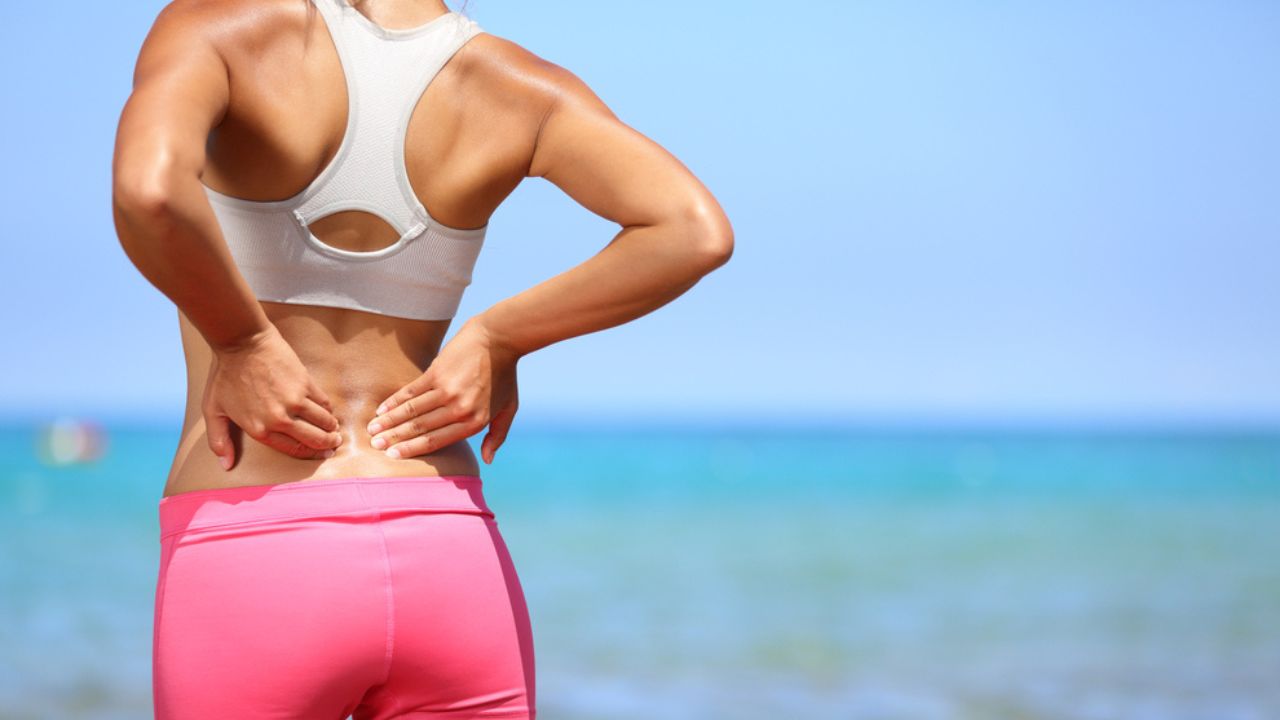
Hip joint exercises such as the cobbler’s pose have a therapeutic effect on chronic lower back pain as they enhance the range of motion of the hip area and stabilize the pelvic floor (4), (5).
4. Promotes Lumbar Stability
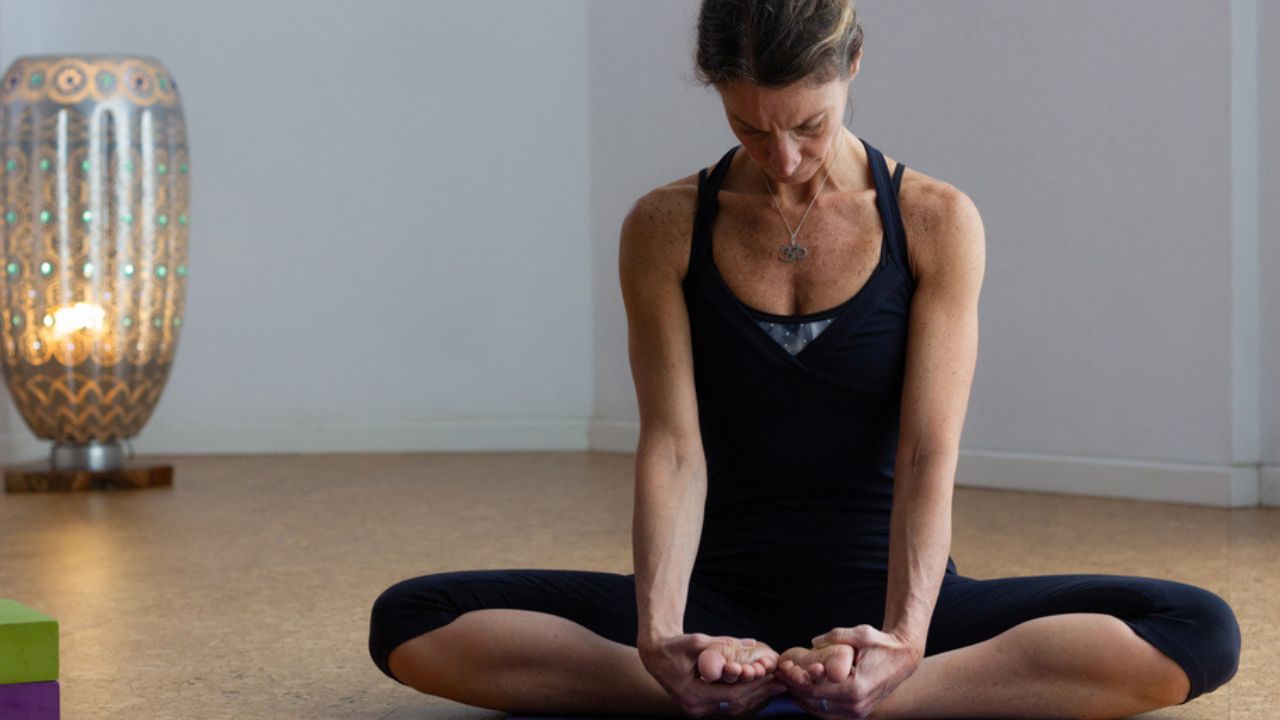
As a fantastic hip flexor stretching exercise, baddha konasana counters the negative impact of a sedentary lifestyle, reduces tightness in the base of the spine, and enhances flexibility. This pose is beneficial for stability and balance, thereby facilitating other exercises and day-to-day physical activities (6).
5. Helps During Pregnancy

Practicing the cobbler’s pose during pregnancy, even if in a modified form, helps strengthen and boosts flexibility in the inner thighs, groins, and knees. In addition to that, baddha konasana offers other health benefits, such as improving digestion, regulating blood pressure, and improving the health of the ovaries and the prostate gland (7). Anecdotal evidence suggests that hip-opening exercises such as this one help with emotional upliftment and a better mood, which can be beneficial for those experiencing mood swings during pregnancy.
Moreover, studies show that as a prenatal yoga asana, the cobbler’s pose helps with labor pains and facilitates the process of childbirth (5). However, in case of doubts regarding how strenuous this practice can get, a pregnant person can always consult their OB/GYN and practice under the supervision of an expert.
Common Mistakes One Should Avoid When Practicing Cobbler’s Pose
1. Pushing Too Much Too Soon
This is a common mistake that people make with not just the cobbler’s pose but with any yoga asana for that matter. Flexibility is a faculty that can be achieved only with consistent practice, not in a single go! Hence, pushing your body too much in the practice, especially when it is not used to this form of movement can have more negative effects than positive, and risk aches and injuries.
2. Not Using Blocks for Support, If Needed
Yoga blocks are essential tools to facilitate movement in an intermediate practice, such as the cobbler’s pose, especially when you are new to it. They help muffle the impact that your body is not prepared to endure all by itself. Hence, when your knees can’t get perfectly flat on the mat, it is a good idea to place two blocks under them to support the movement. If you don’t have blocks, you can use substitutes such as firm bolsters.
3. Holding the Breath for Too Long
Often, beginner yoga practitioners confuse deepening the breath with holding the breath for too long. However, doing so may end up choking you, thereby not only disrupting the practice but also posing severe health risks. To get an idea of how long is too long when it comes to holding your breath, align your breath cycle with the back-and-forth movement of the bound-angle pose, assuming you’re practicing that variant. If practicing the static cobbler’s pose, you can simply breathe naturally.
4. Not Keeping the Back Straight
By rounding the back too much in this seated position, you would be straining your muscles too much or putting your front body in a position that collapses forward, leading to injuries. Besides, rounding the back counters the benefits of practicing this pose, which is improving the posture.
5. Practicing with a Knee/Groin Injury
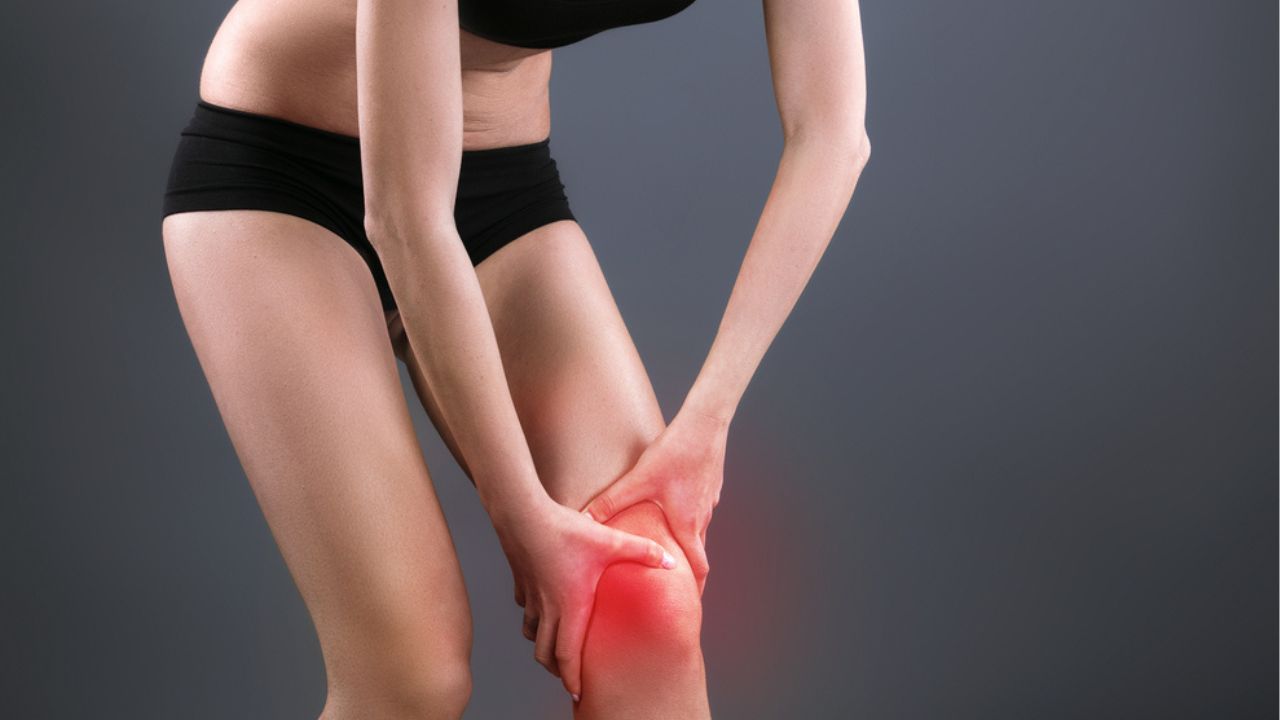
This pose comprises stretching the inner thigh muscles and groin muscles, as well as bending of the knees, which inevitably puts pressure on those parts of the body. Hence, one should avoid practicing this pose when they have any injury in those regions.
Conclusion
Like every hip-opening yoga pose, baddha konasana too offers the body a rejuvenating experience that comprises an exhilarating release and enhanced mood. The pose is grounding and challenging at the same time, and its practice has very few risks involved if done correctly. Another feature that sets this pose apart from the rest is that it fits a sweat-jerking hatha yoga sequence as well as a gentle and calming yin yoga practice. With regular and consistent practice, you will see a dramatic change in how much the range of motion, of your body has increased. Ensure that you don’t go overboard with this exercise in the first try itself, and respect your body while practicing this asana.
ALSO READ: Seated Yoga Poses to Stretch And Rejuvenate: Types And Benefits


 JOIN OUR WHATSAPP CHANNEL


